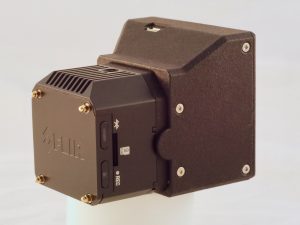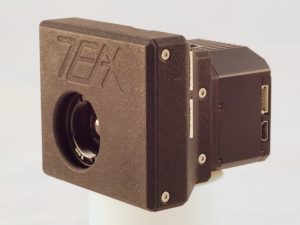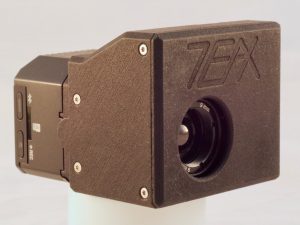
ThermalCapture Calibrator Vue Pro Edition – Getting Started
On this page you can find all you need for getting started with our ThermalCapture Calibrator module.
Assembly
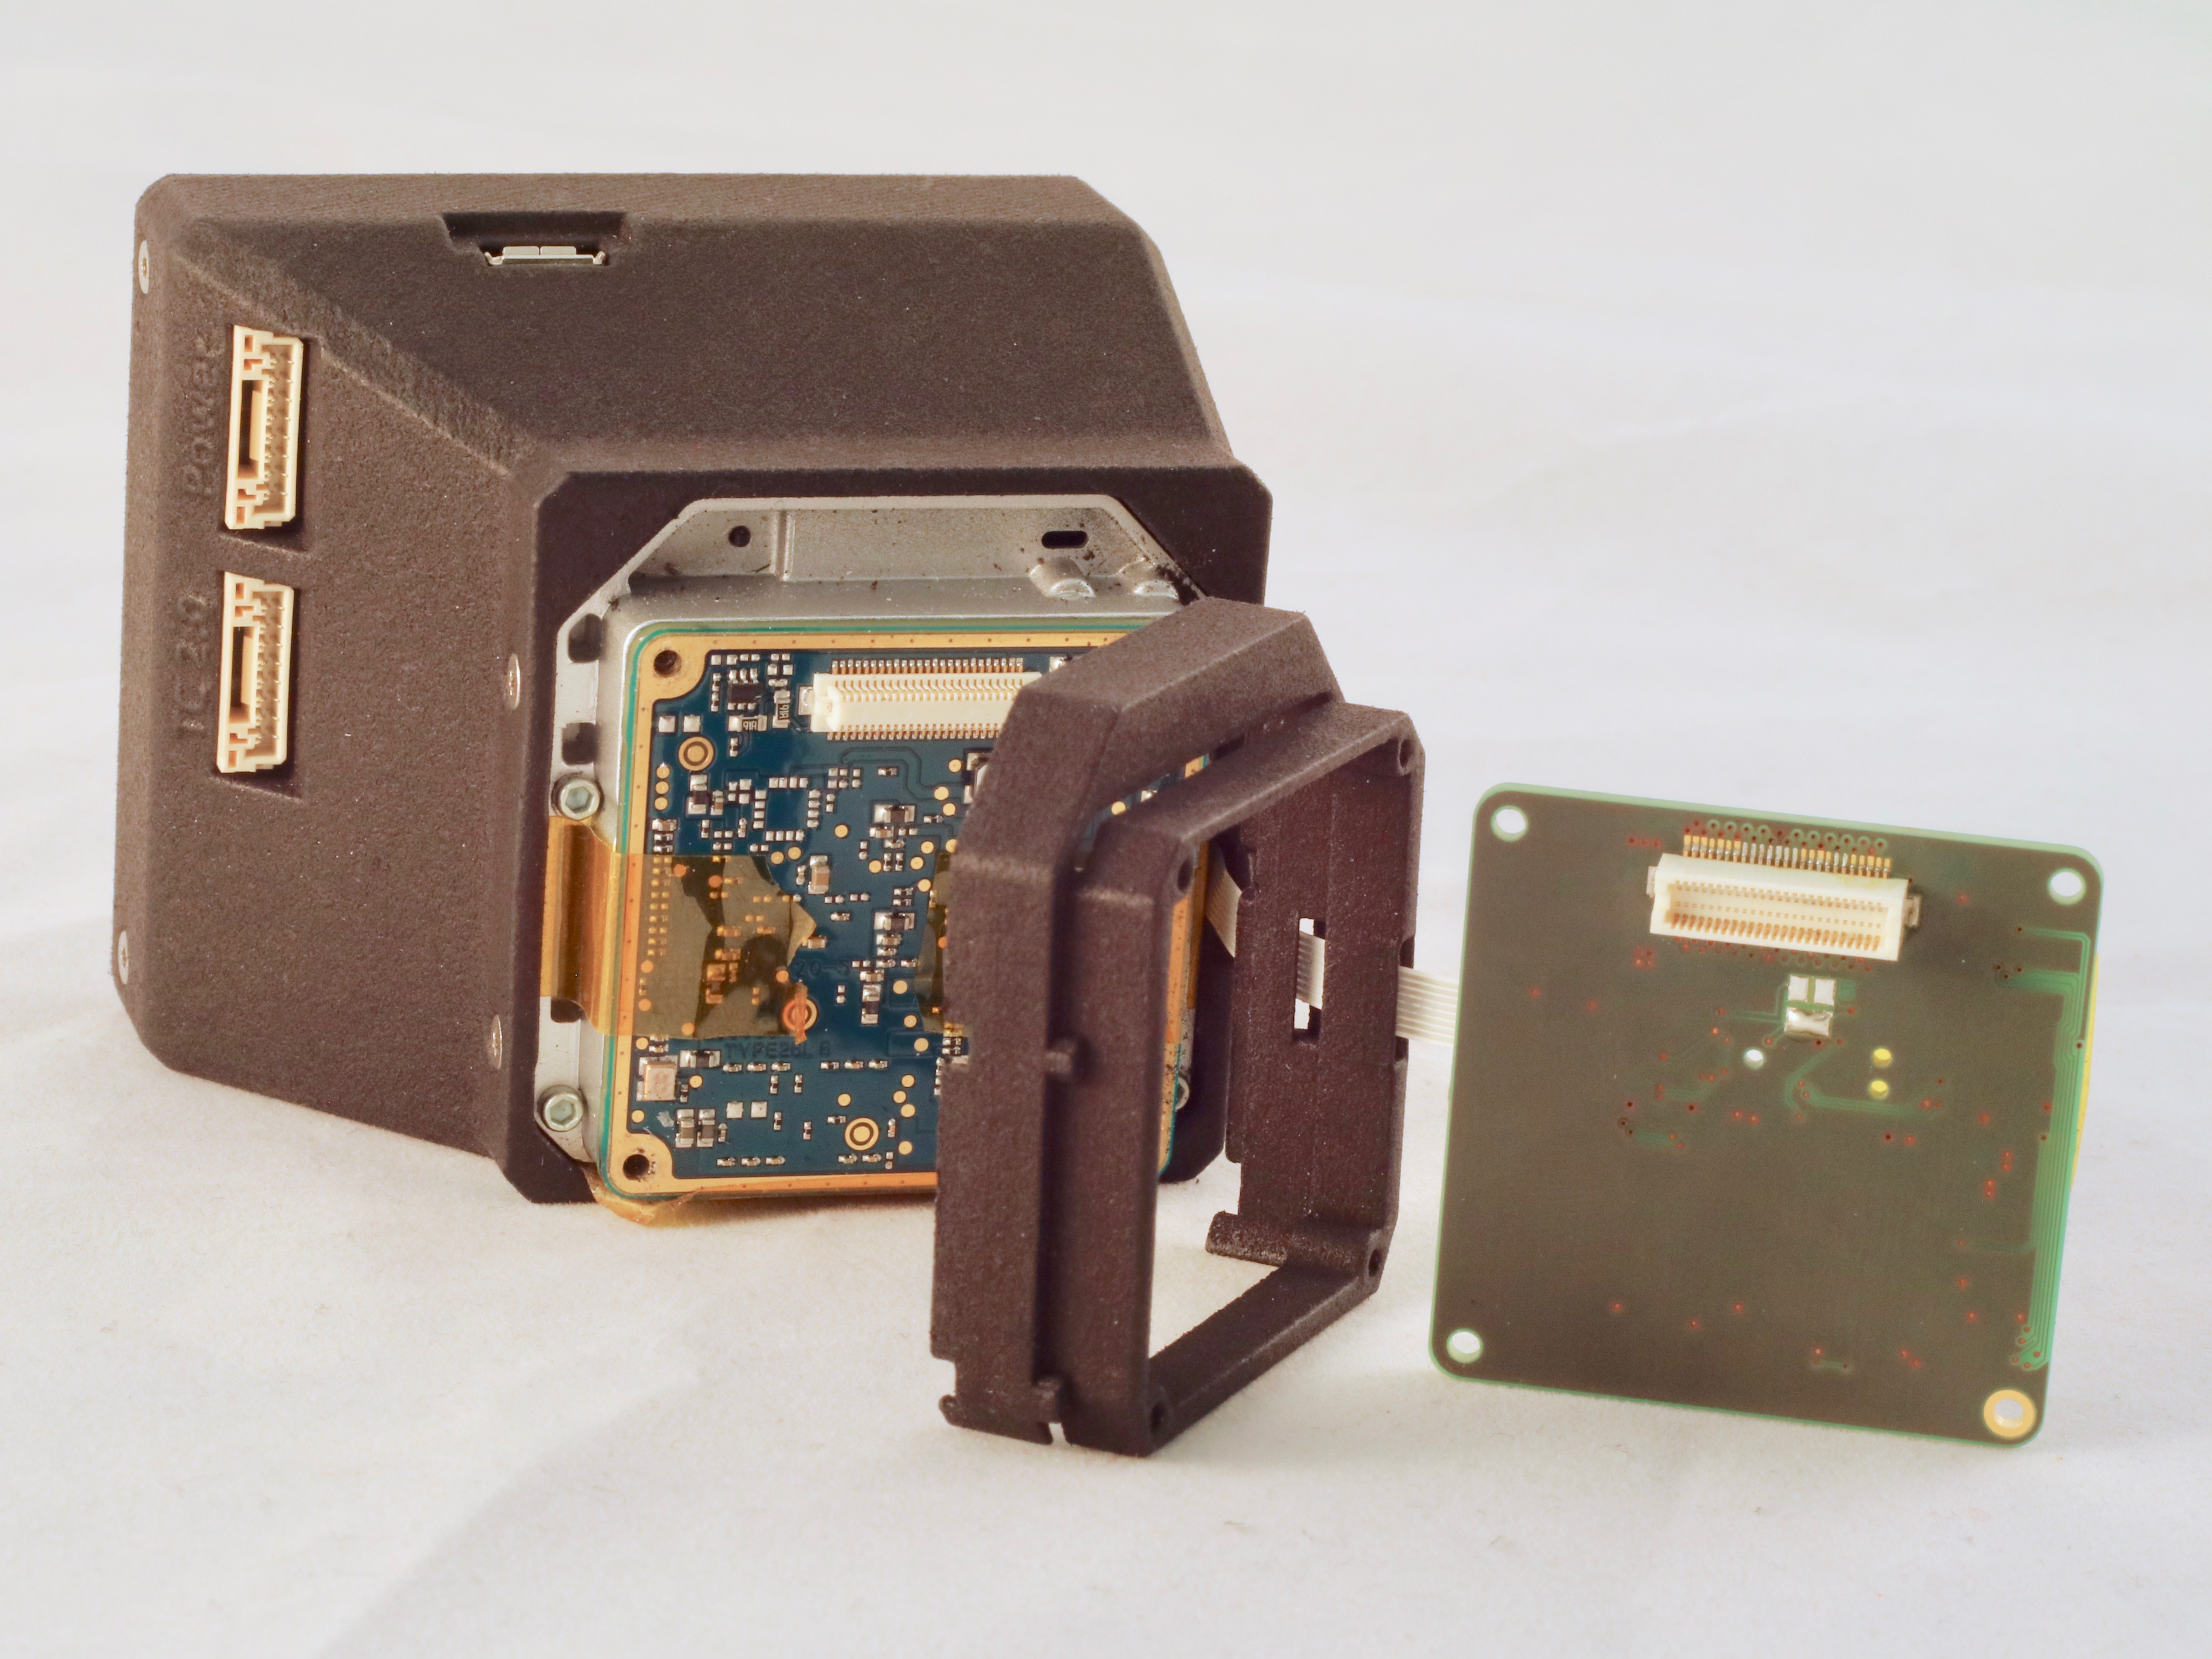
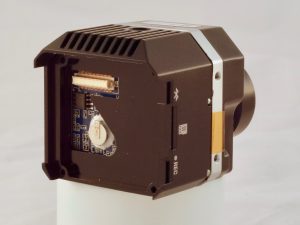
This is a two stage process. First you have to disassemble the FLIR Vue Pro hardware from the FLIR Tau core, which is the base element of the camera. After that, ThermalCapture Calibrator is inserted into the stack of PCBs and the previously removed FLIR hardware is put back into place.
Disassembly of FLIR Vue Pro
- Remove the four Philips screws on the back of your FLIR Vue Pro module

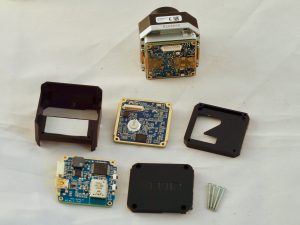
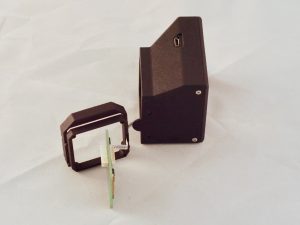
- Remove the back cover
- Remove the now visible PCB #1
- Remove the aluminum spacer #1

- Remove the PCB #2 including the aluminum spacer #2

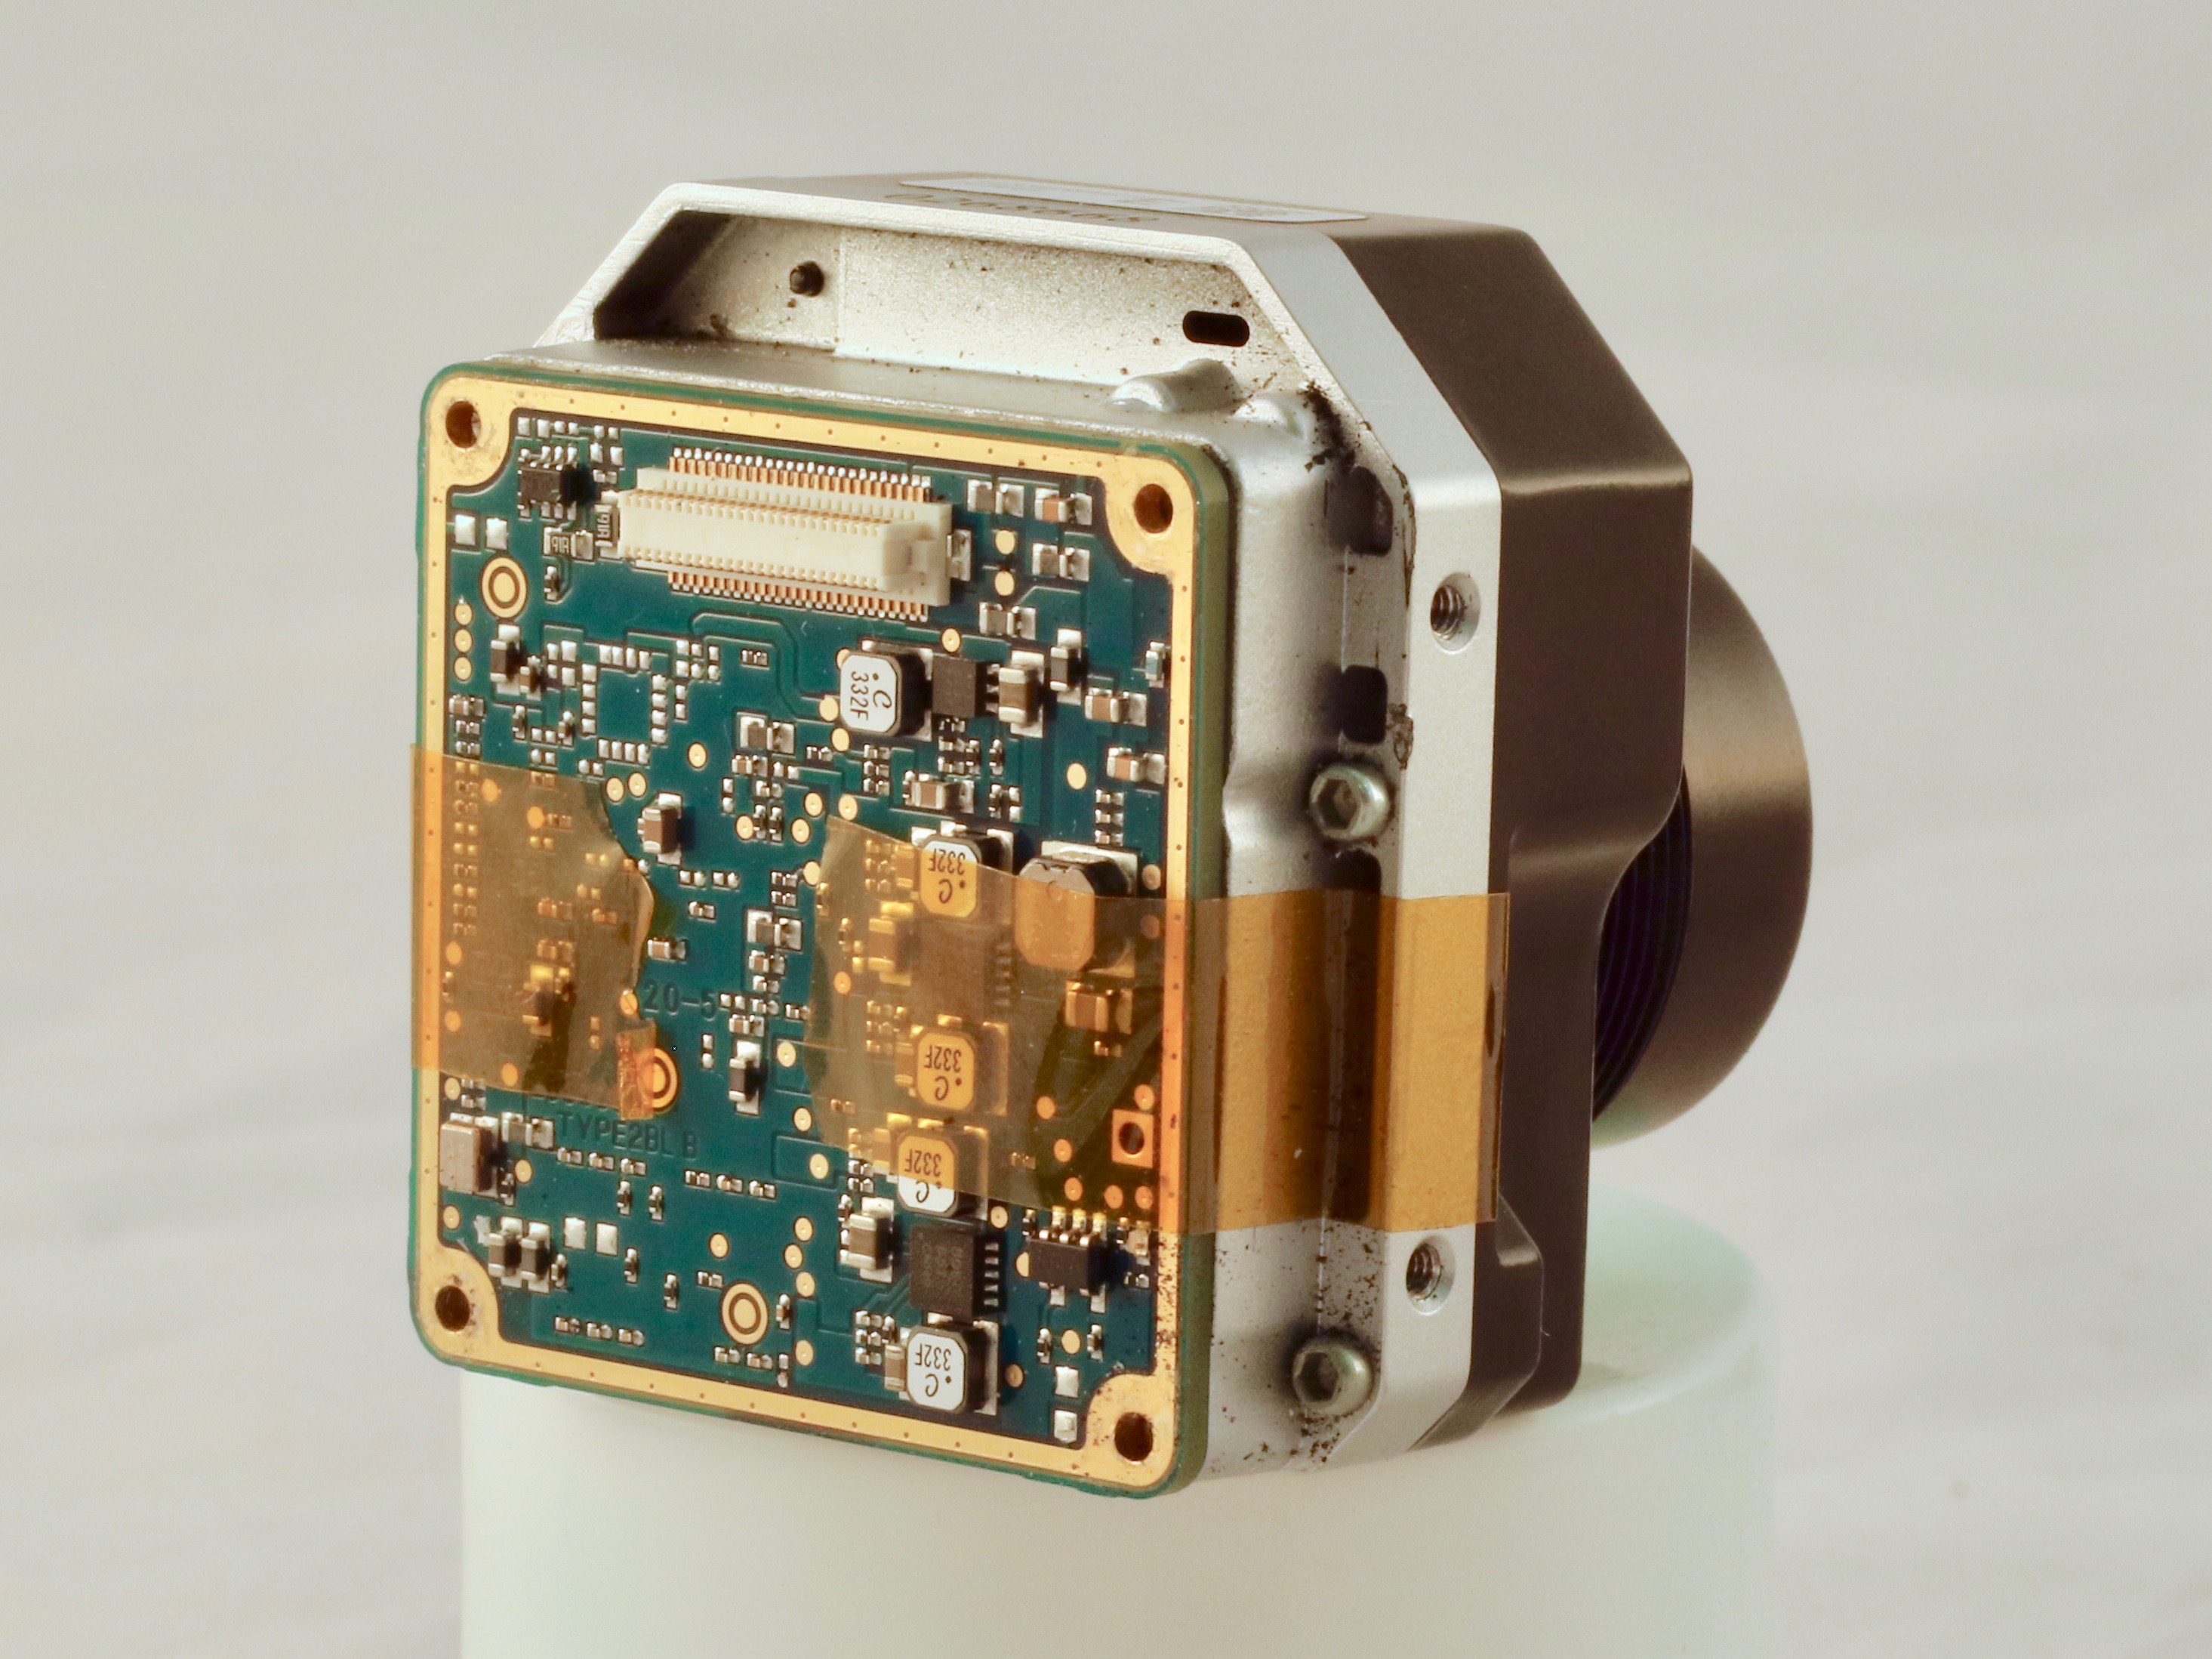
- As a result you will have a FLIR Tau 2 Core with the dismounted recording hardware of the FLIR Vue Pro


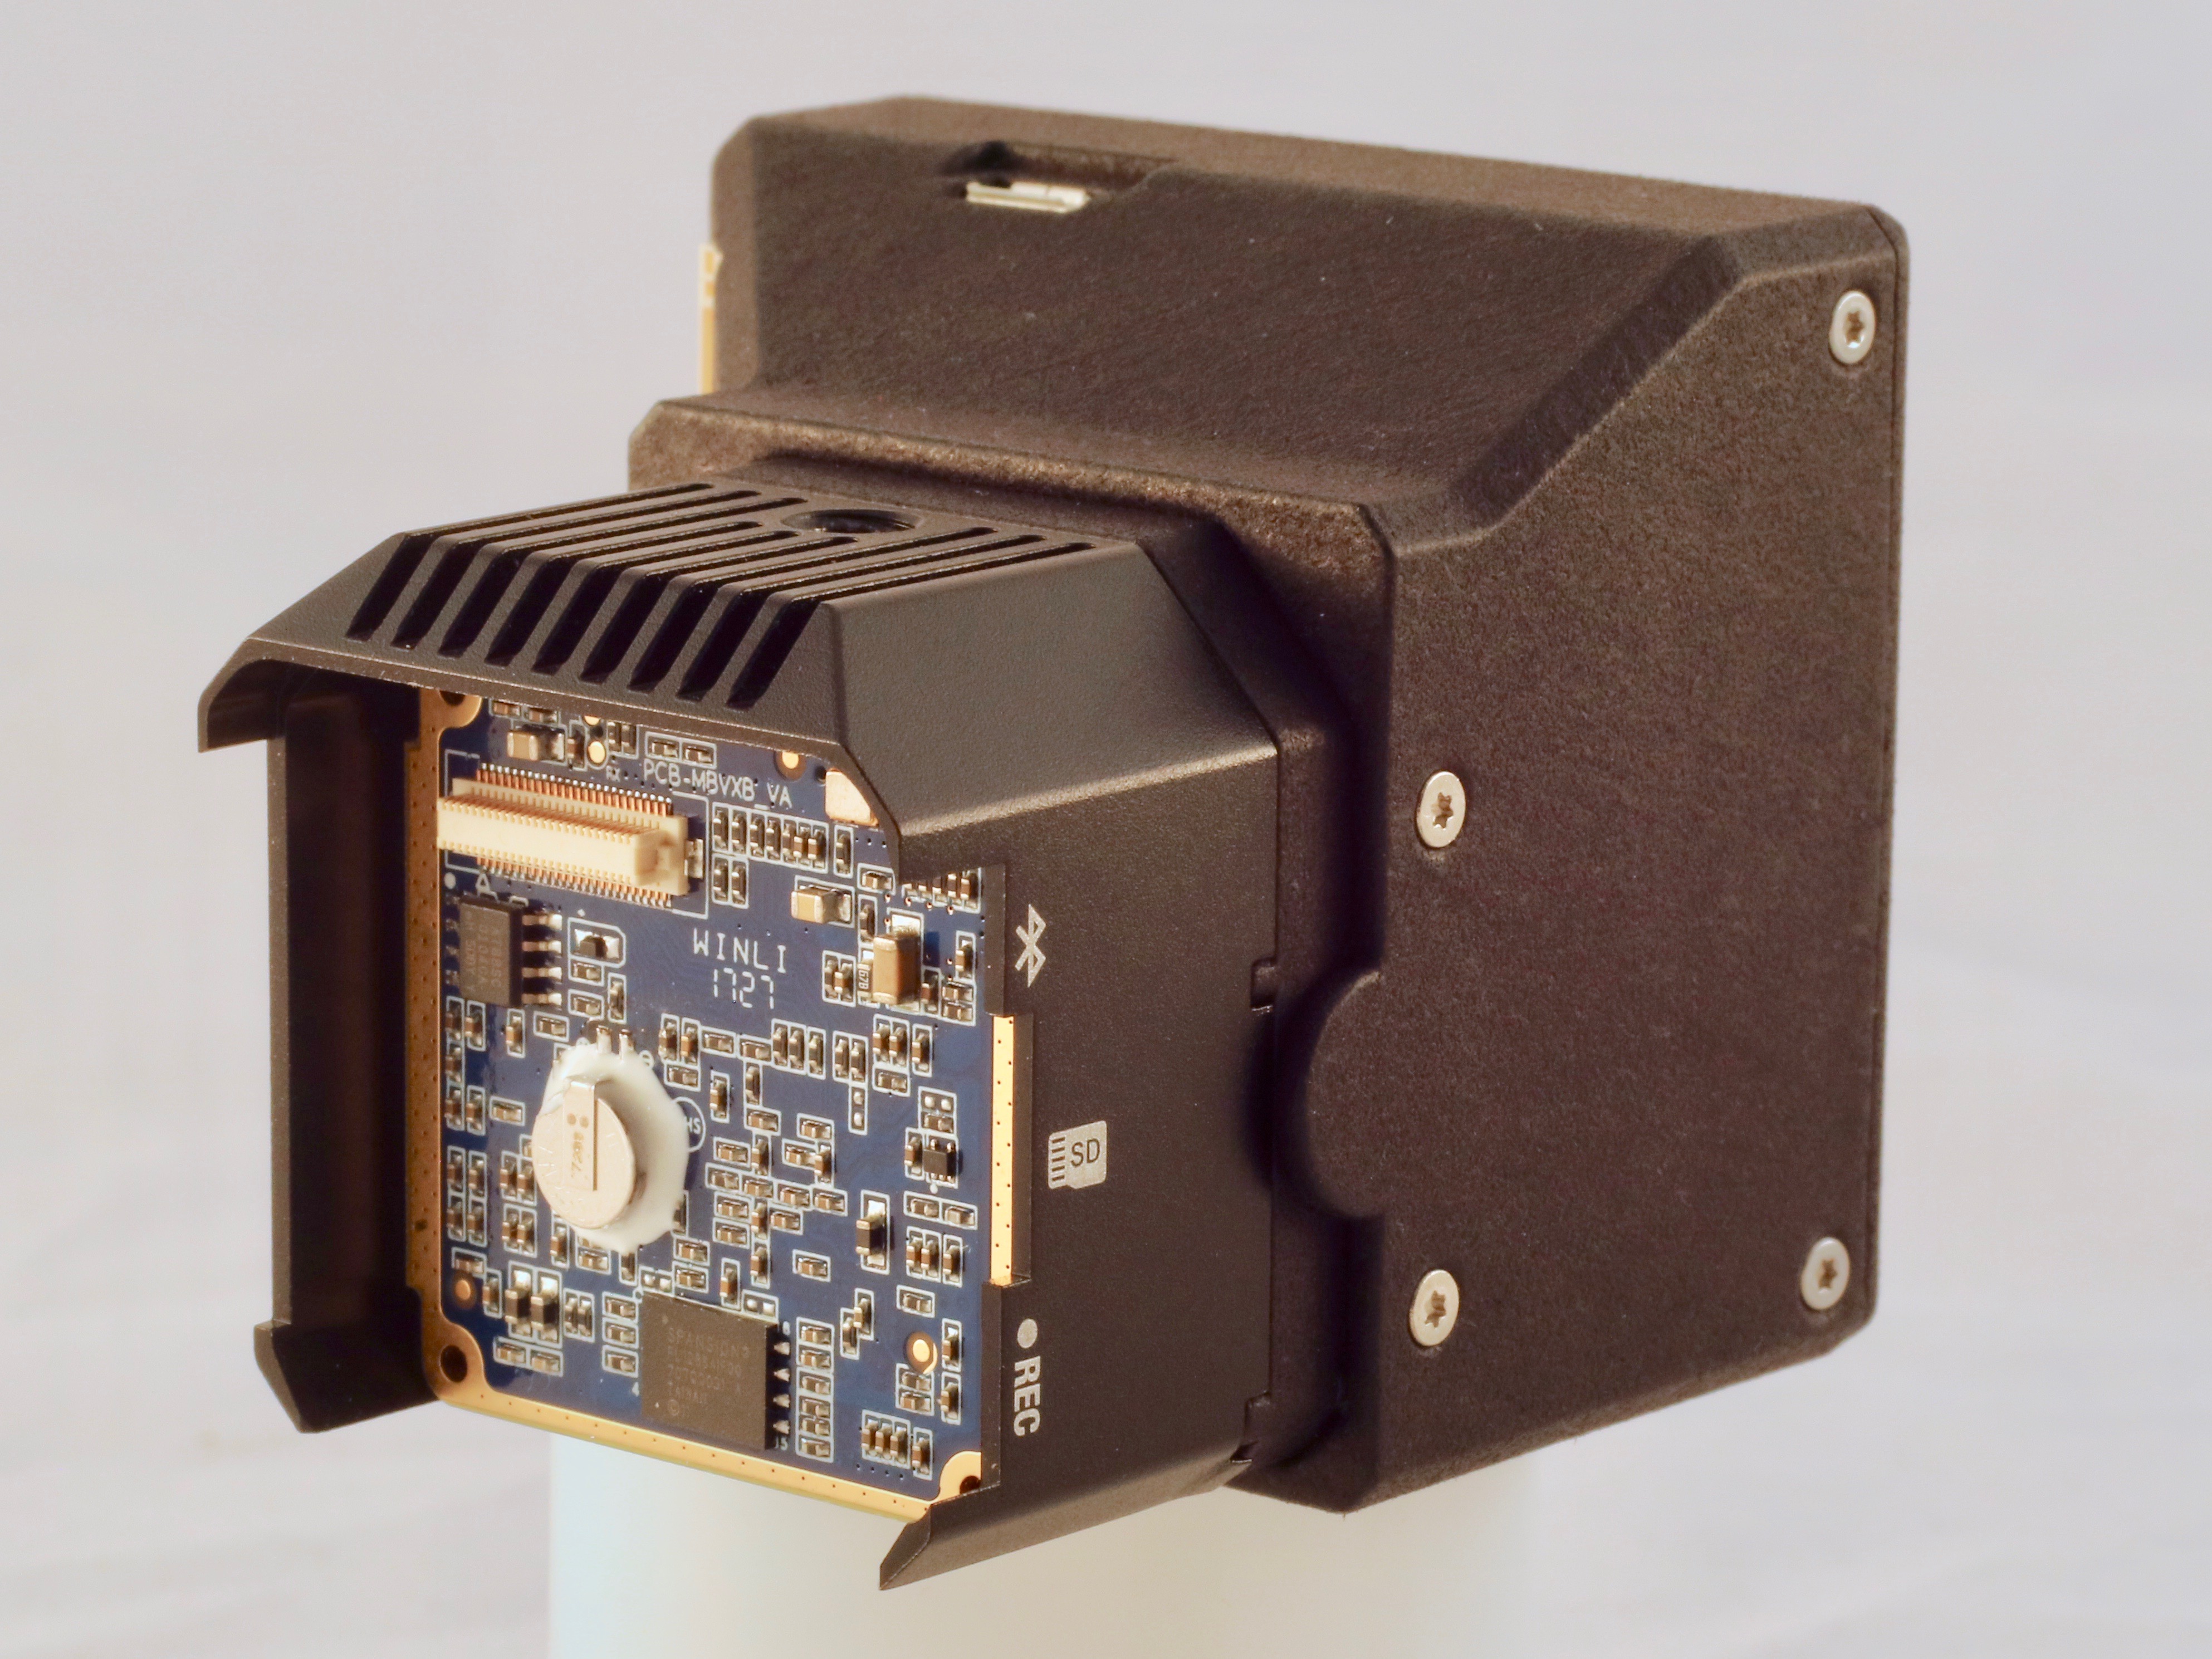
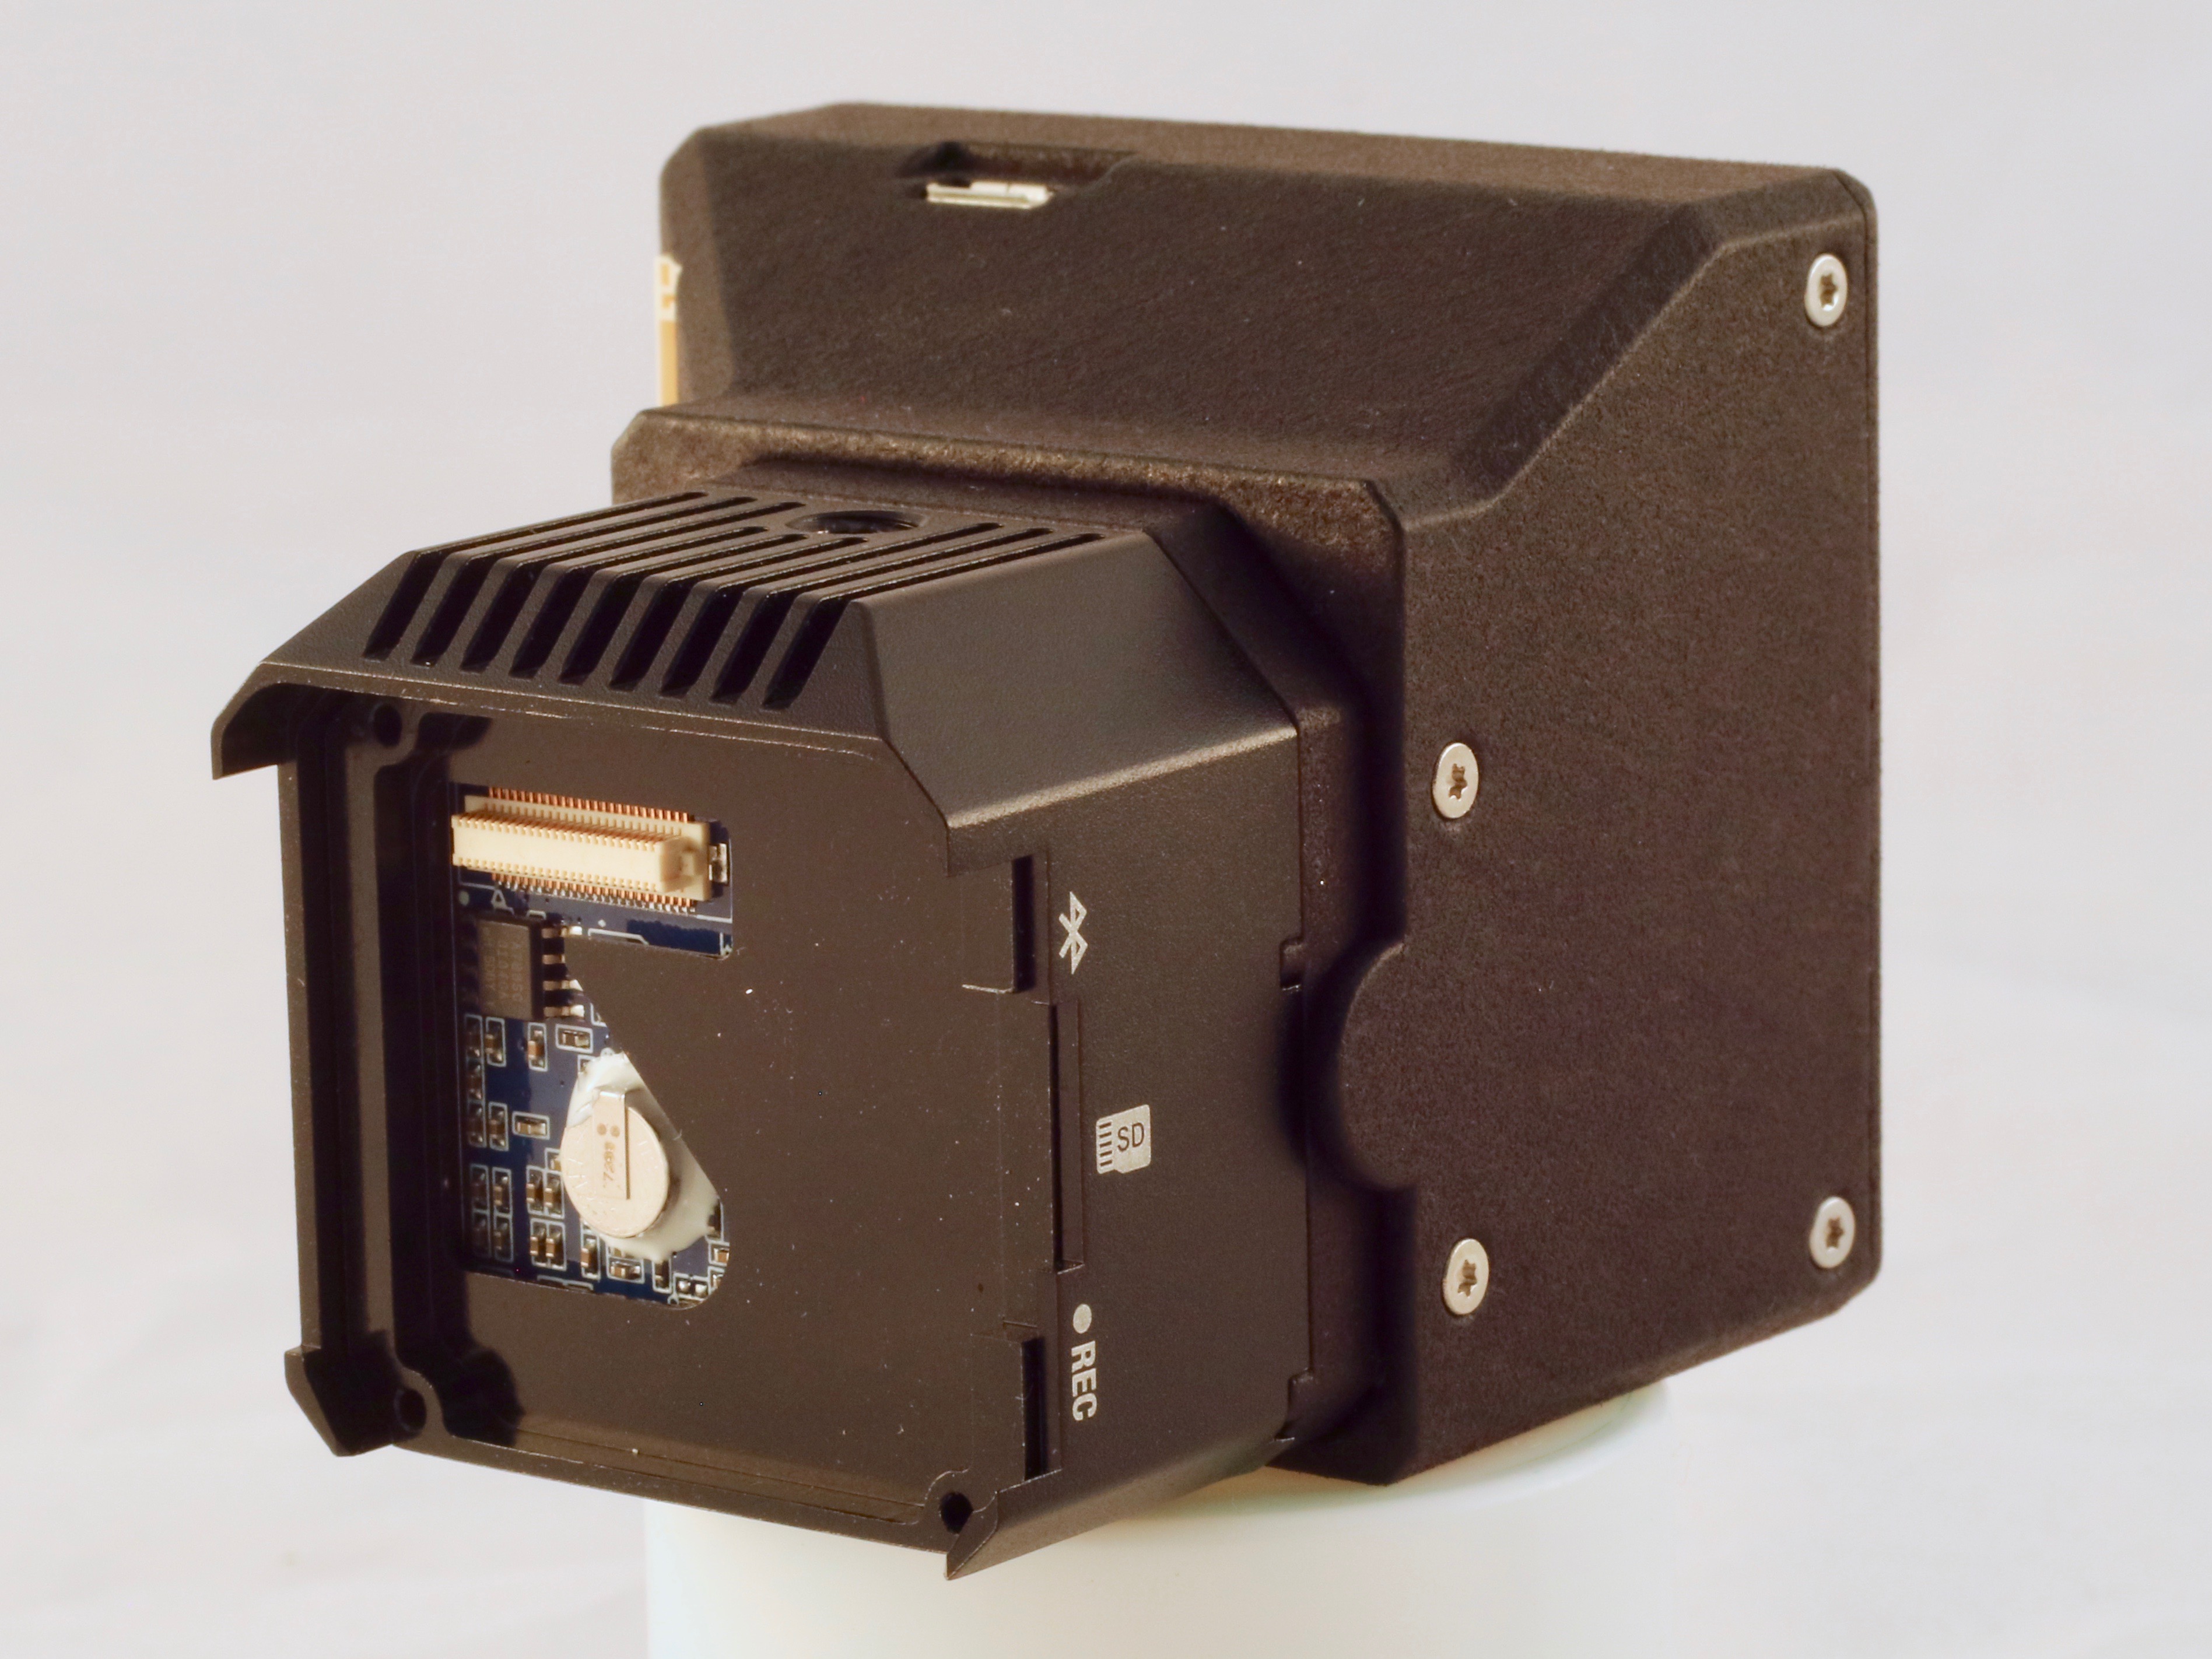
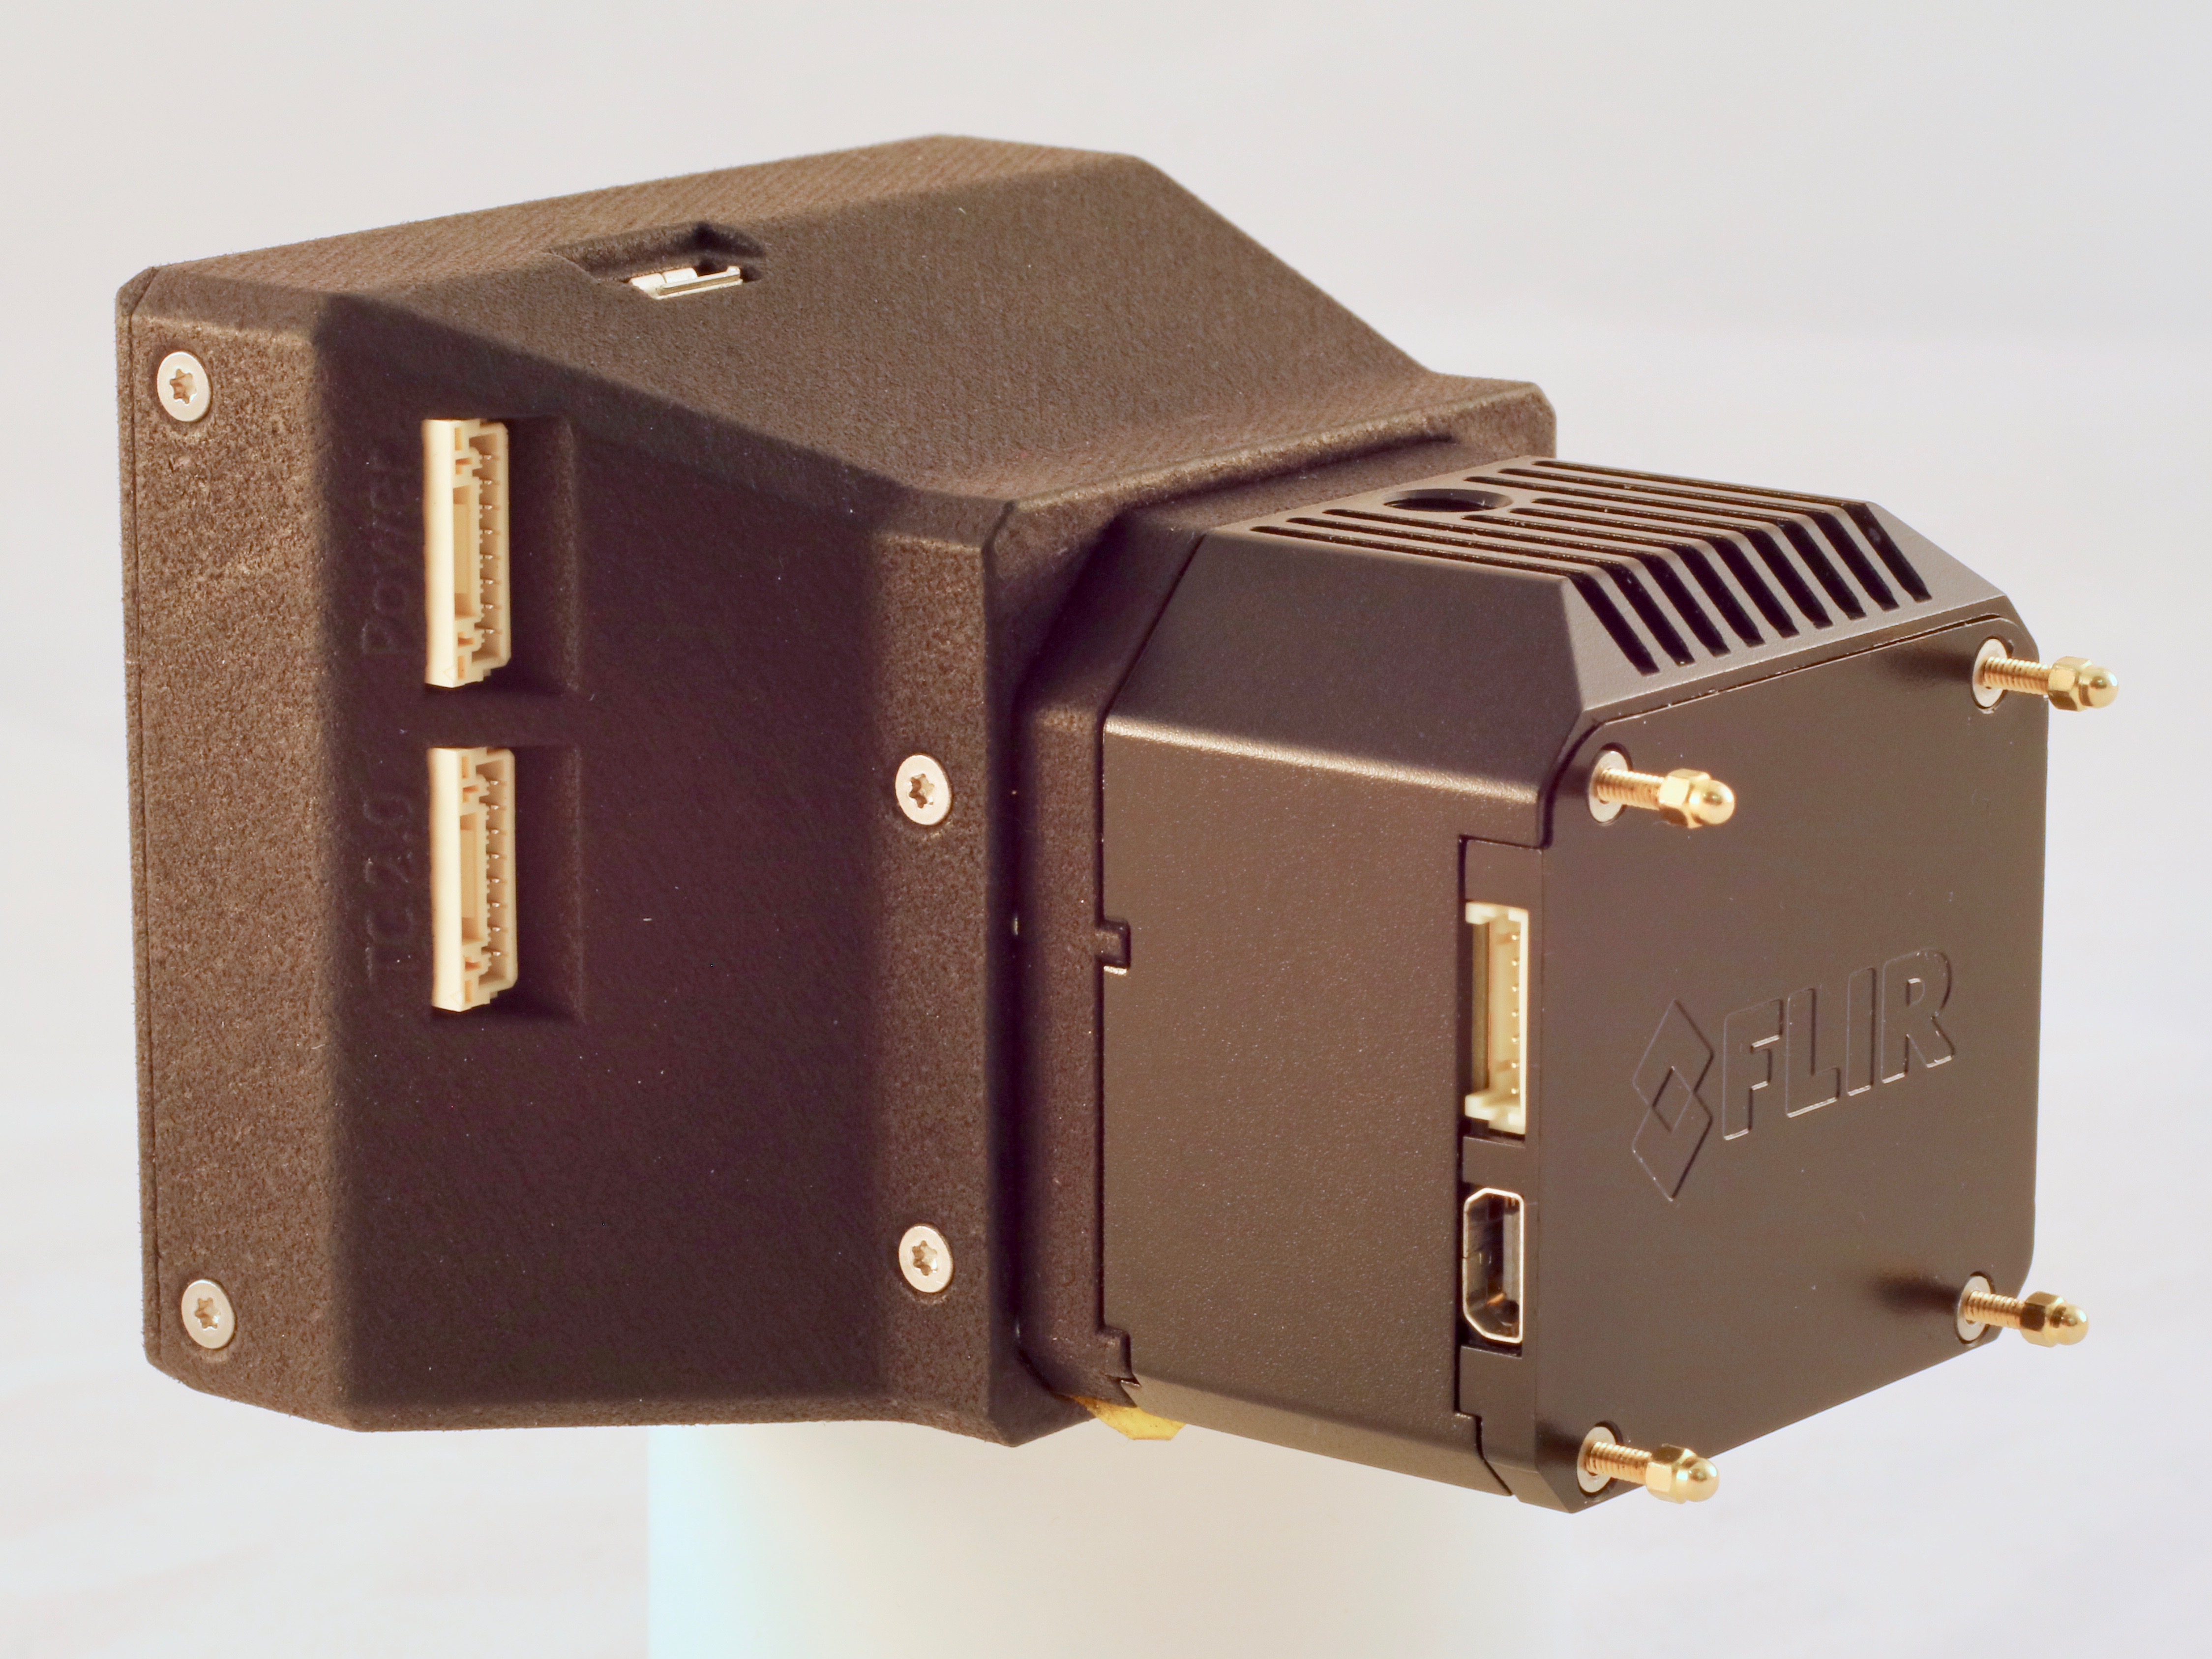
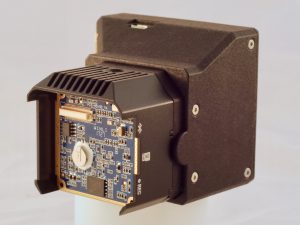
Assembly of ThermalCapture Calibrator
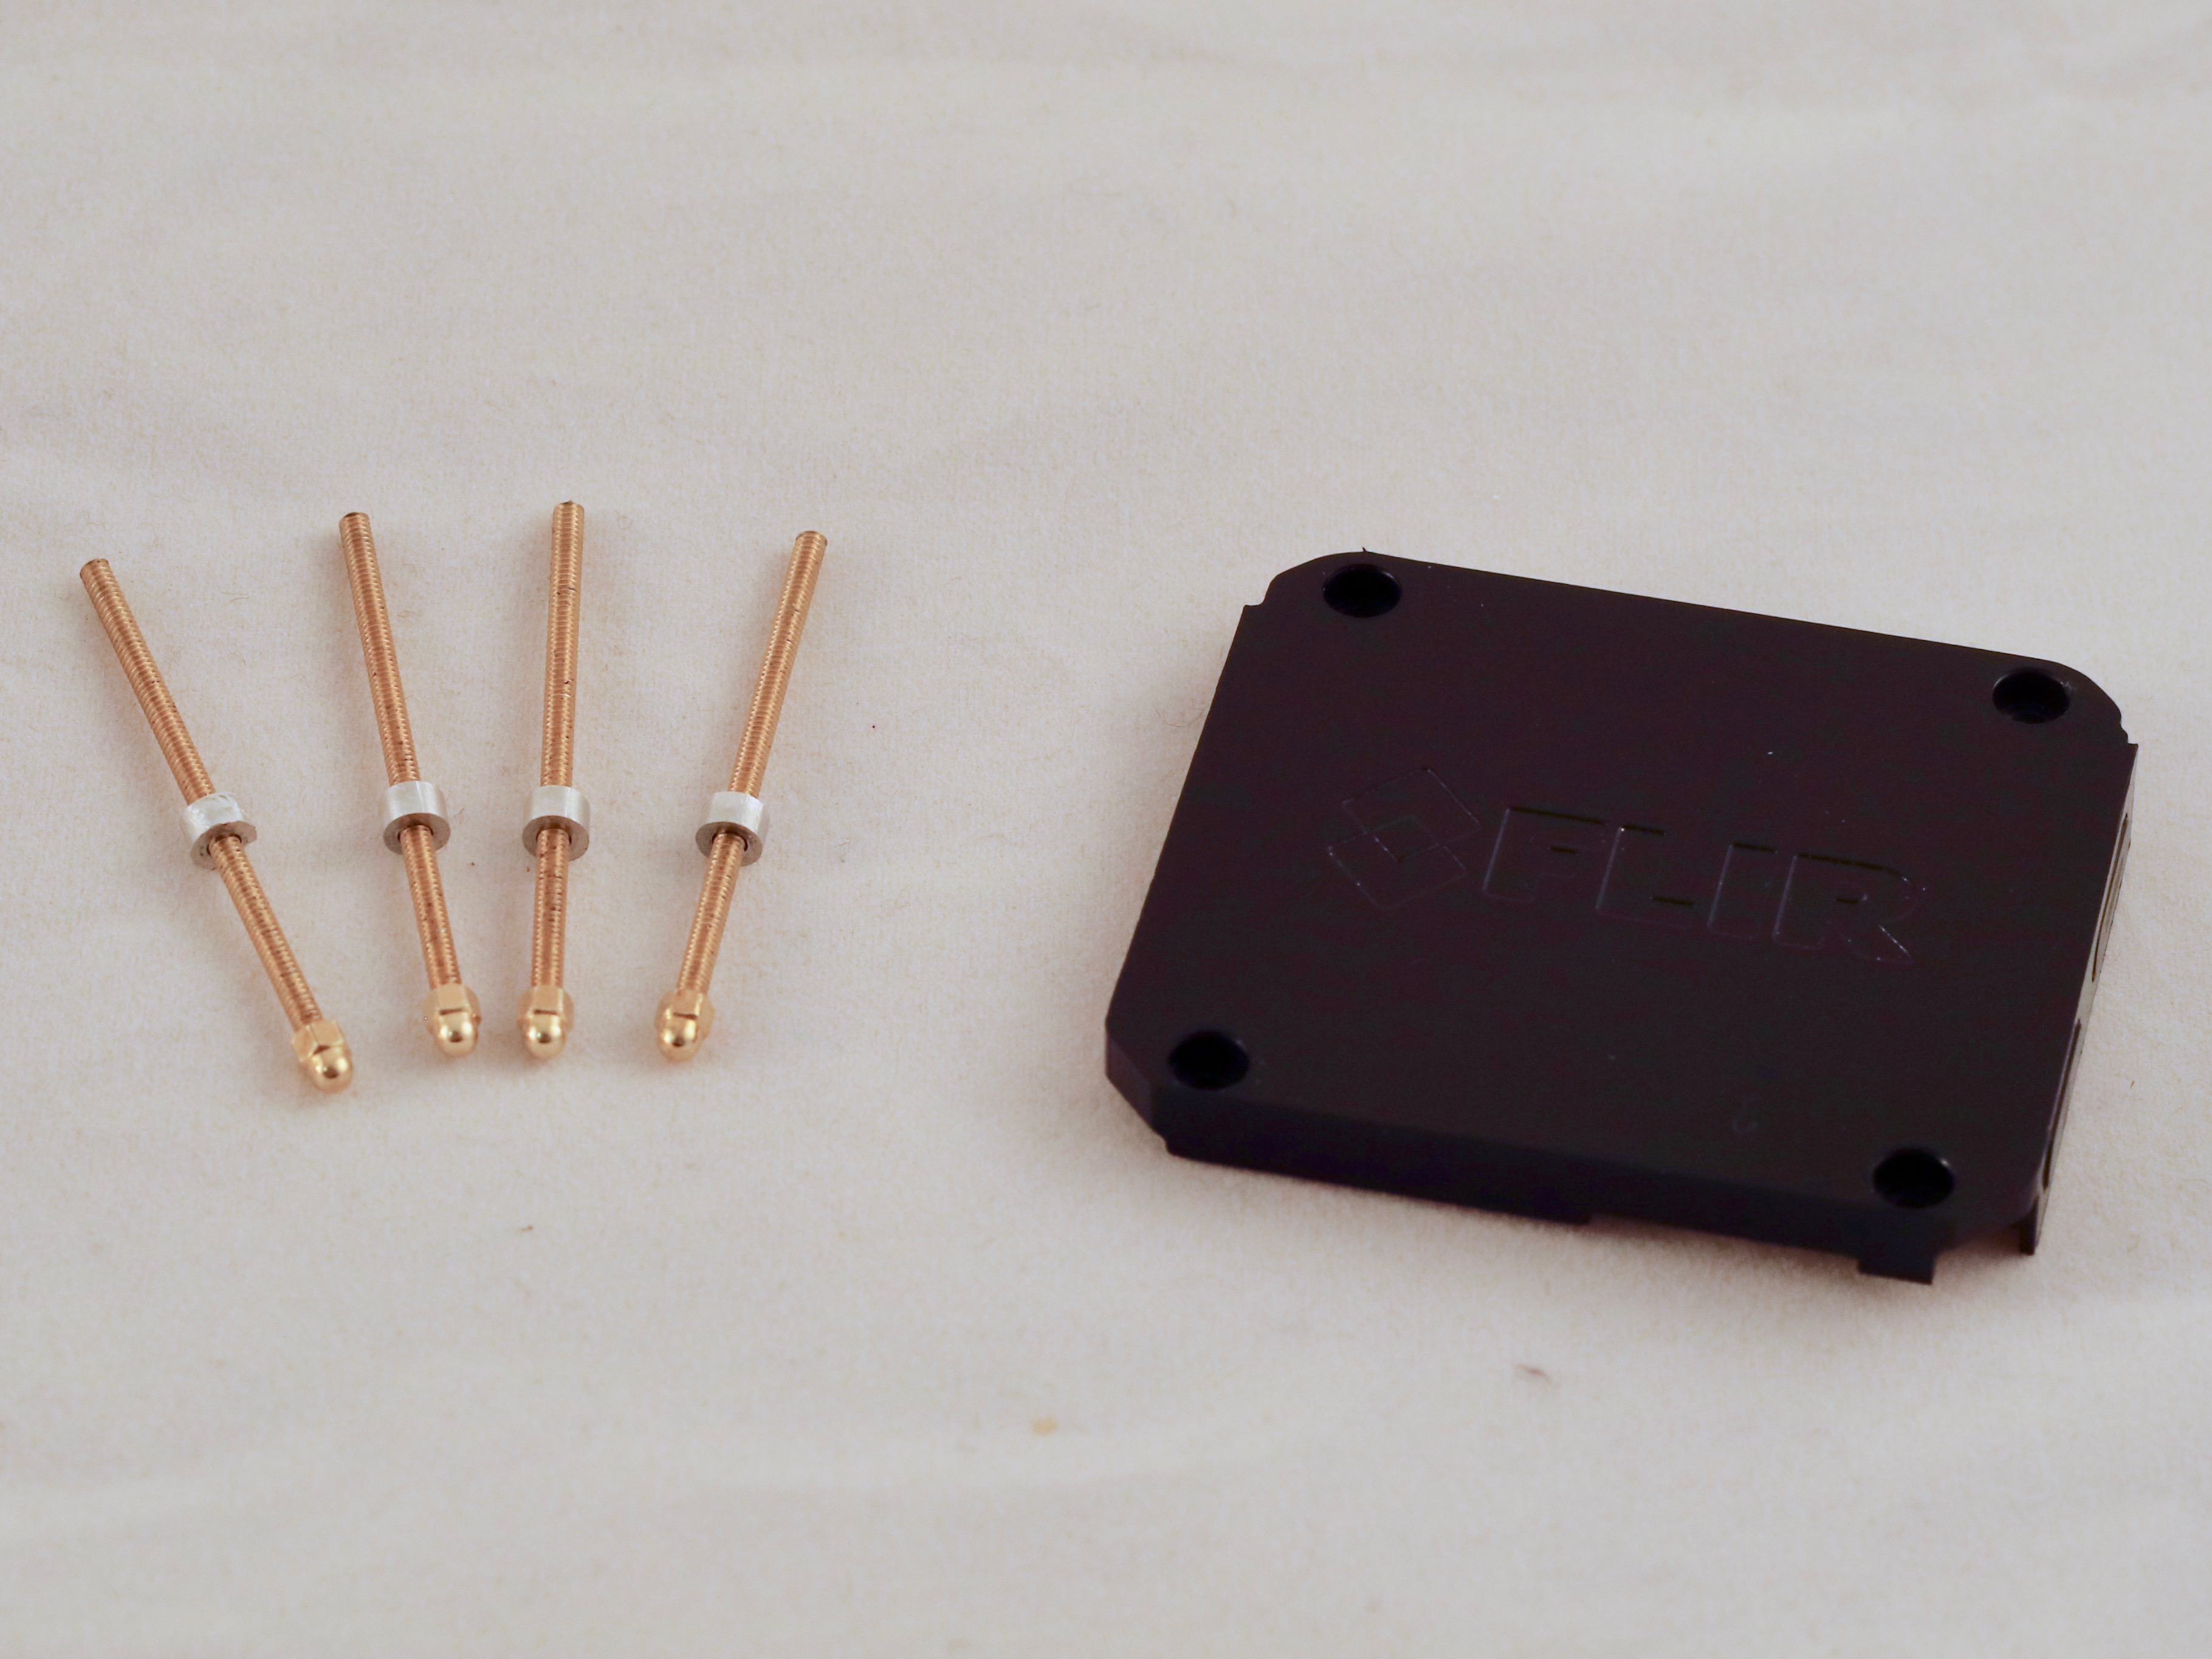
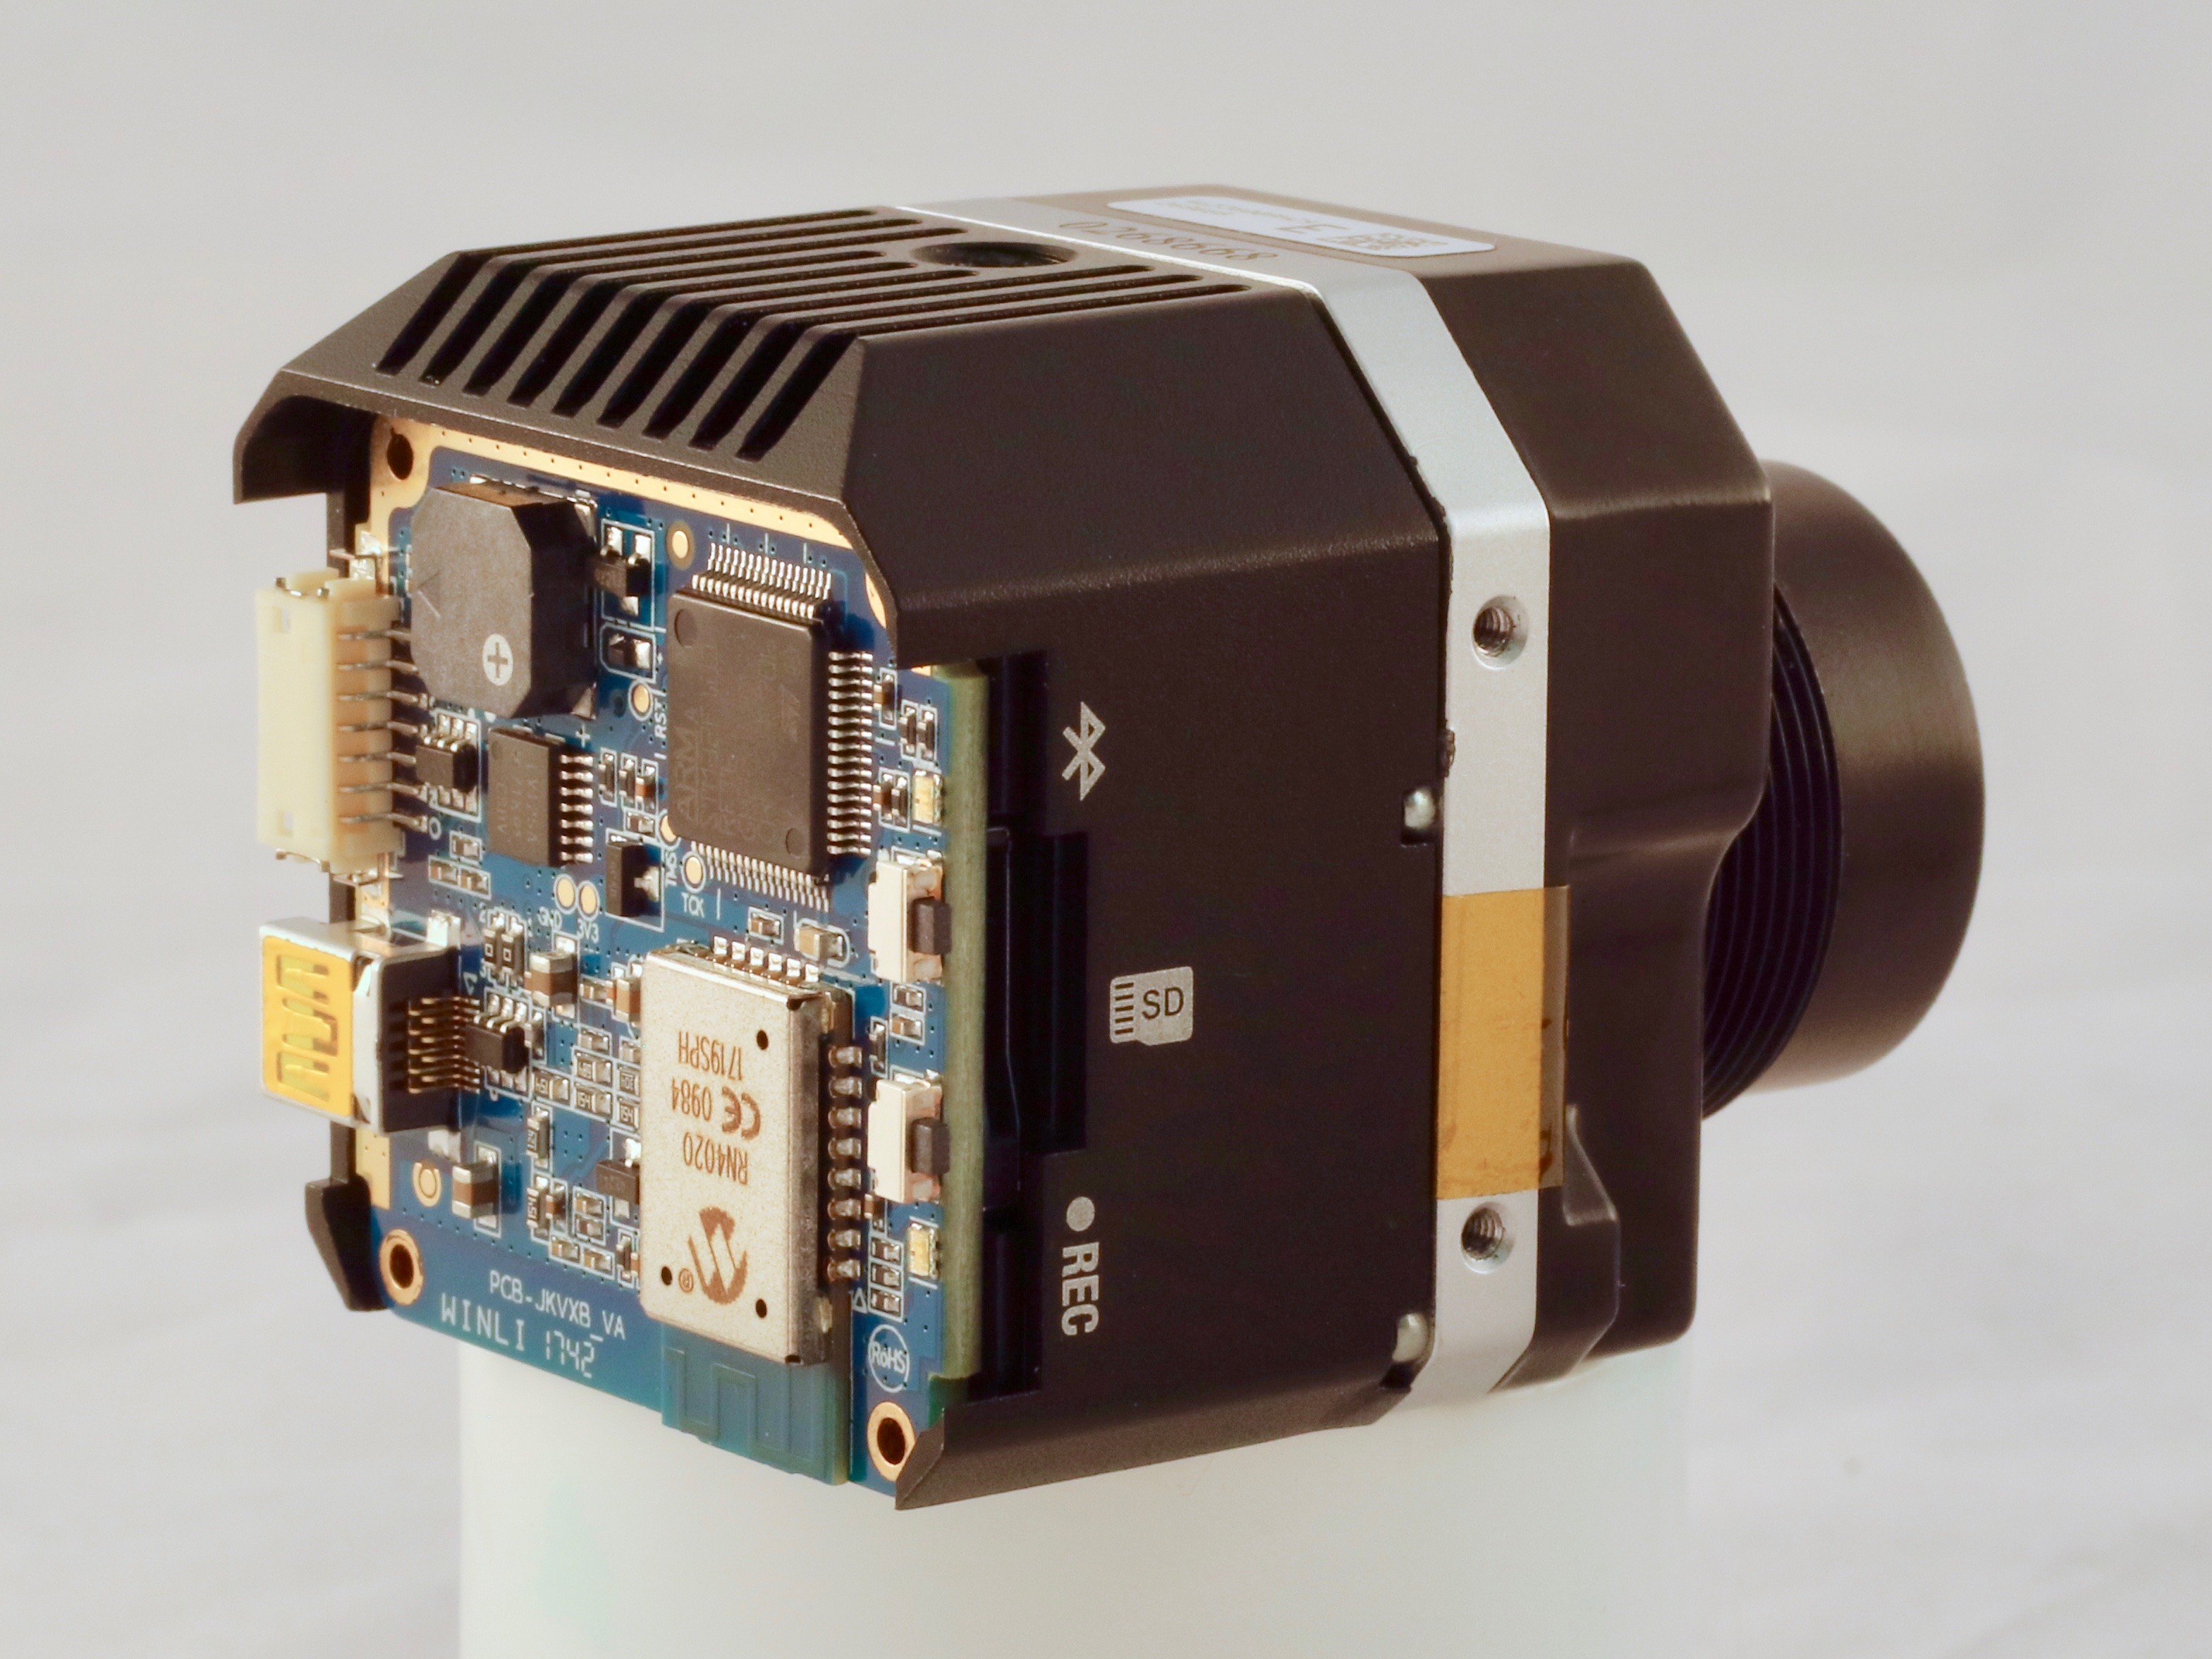
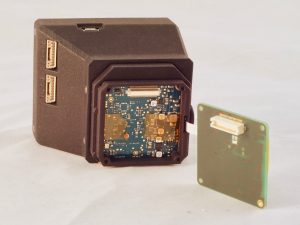
- Prepare the ThermalCapture Calibrator hardware
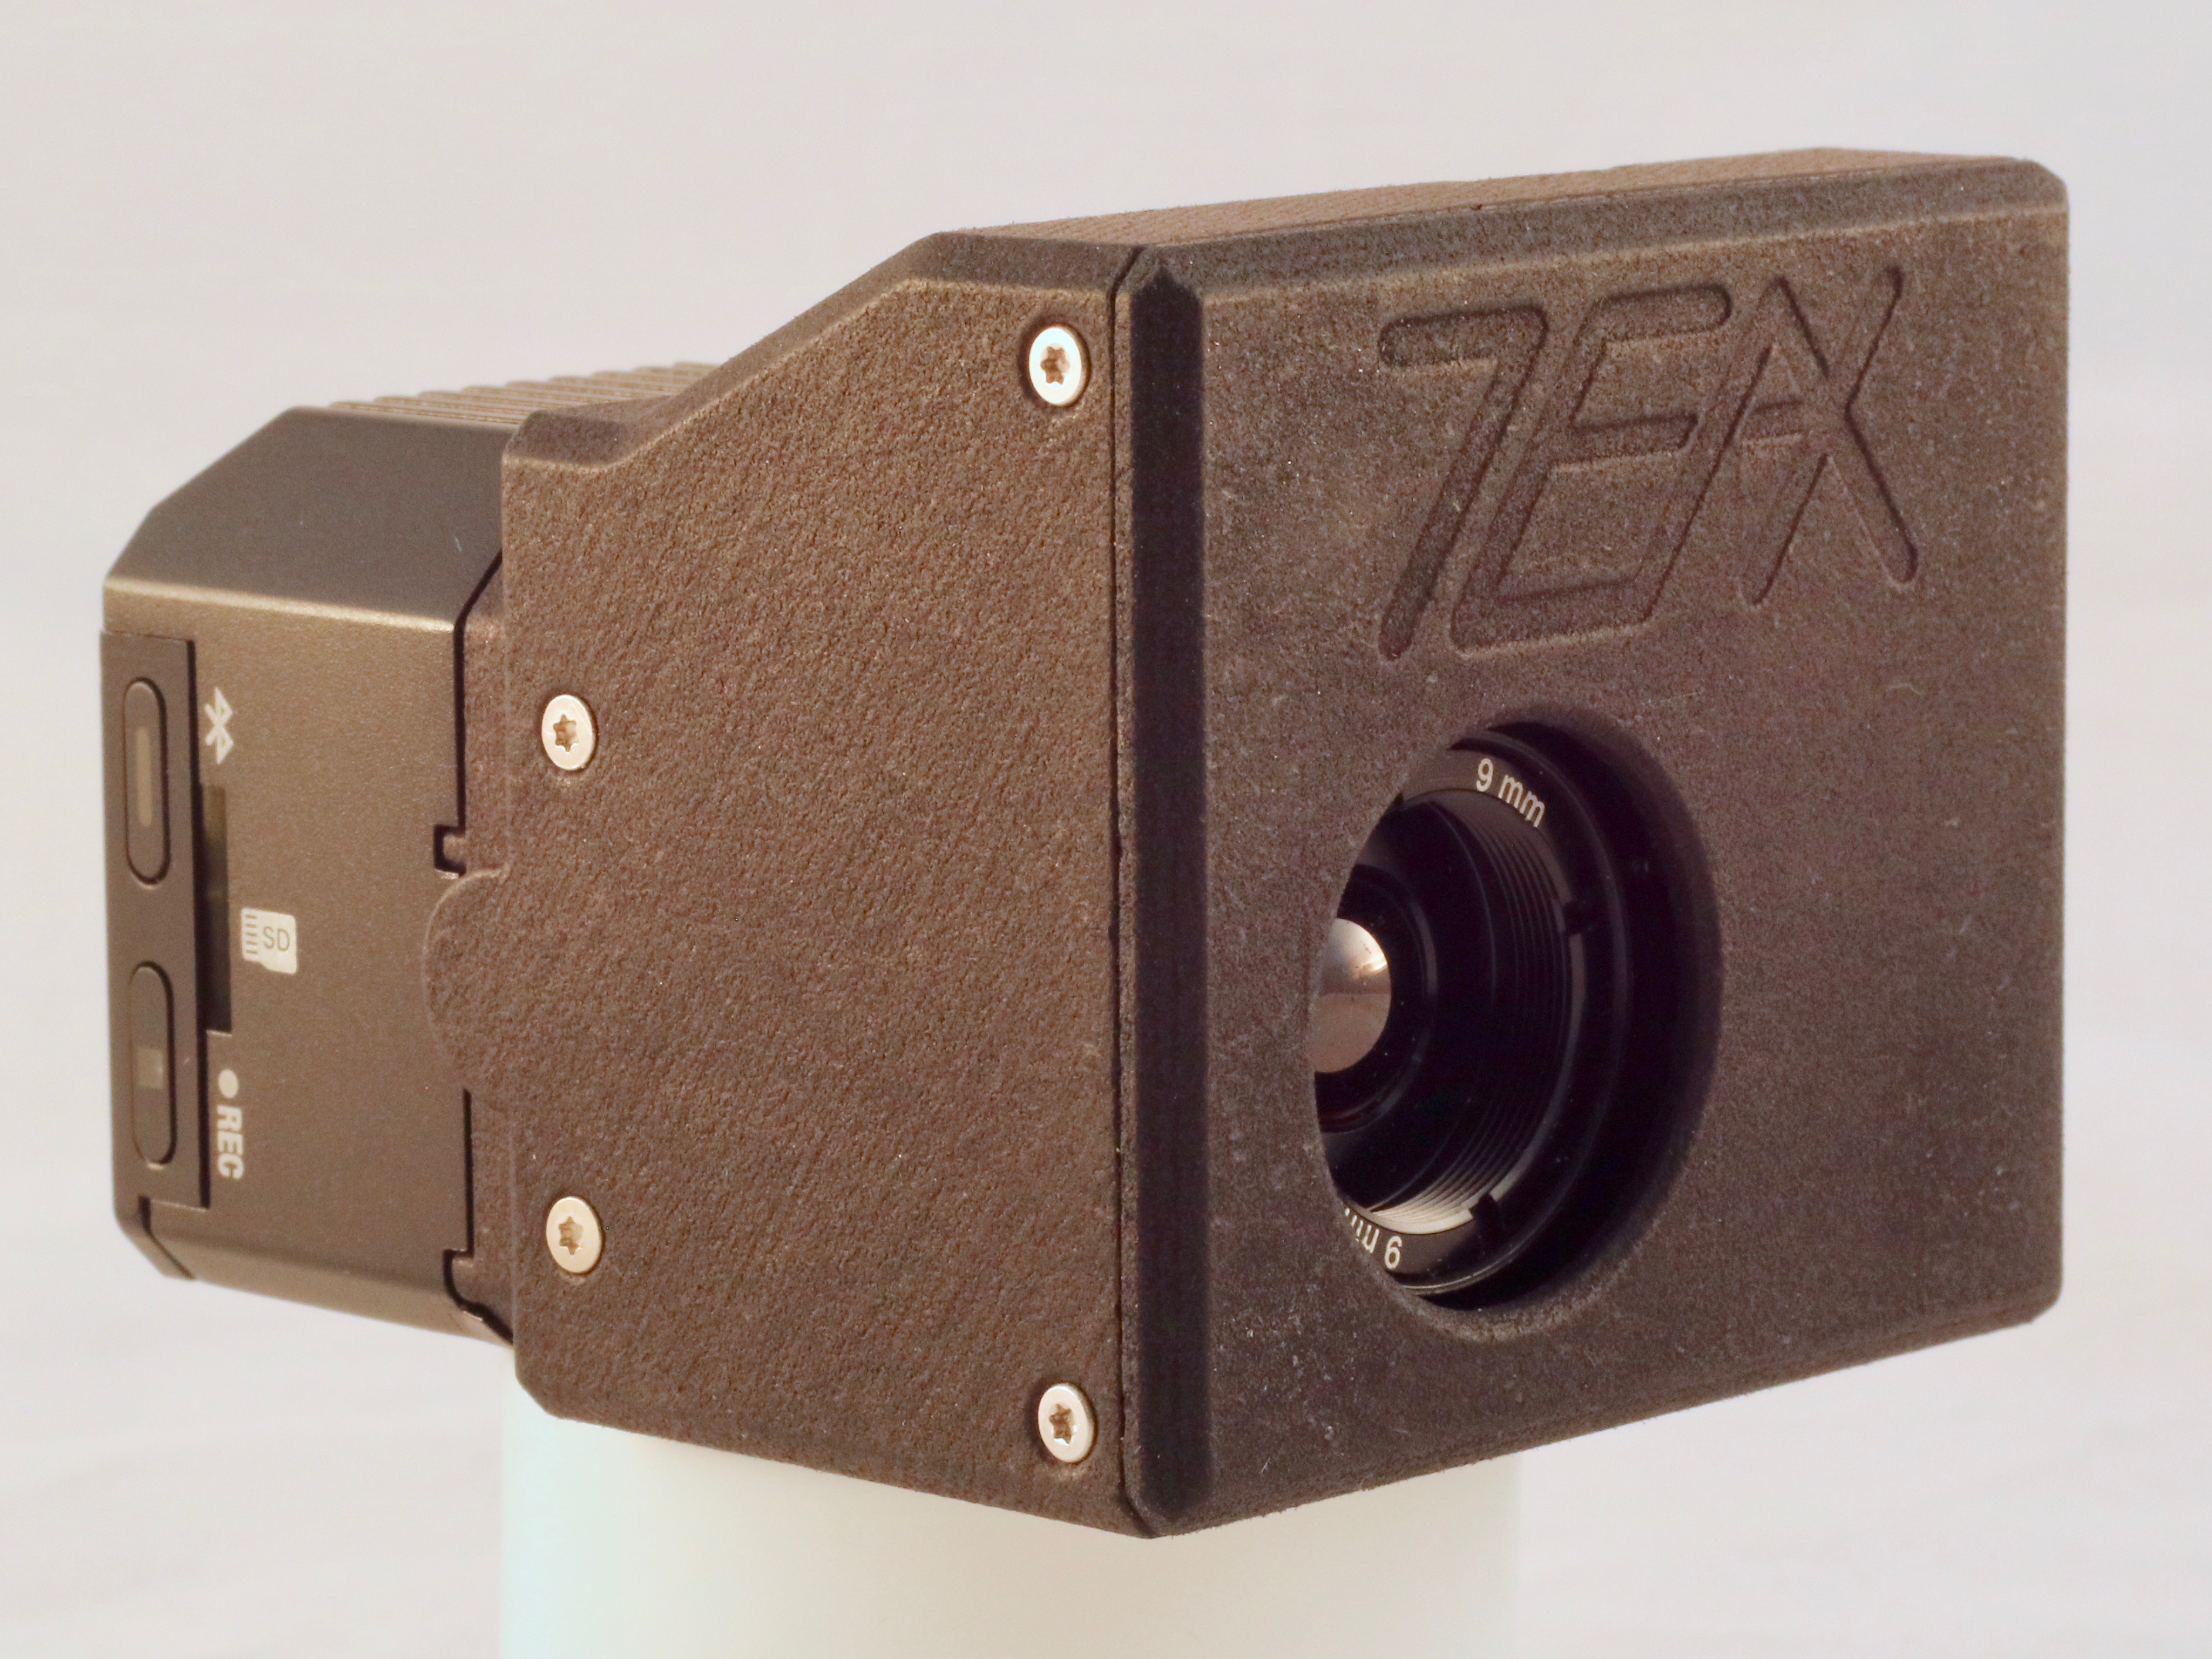
- Insert the FLIR Tau 2 Core into the front housing of ThermalCapture Calibrator

- Attach the spacer to the back of the FLIR Tau 2 Core
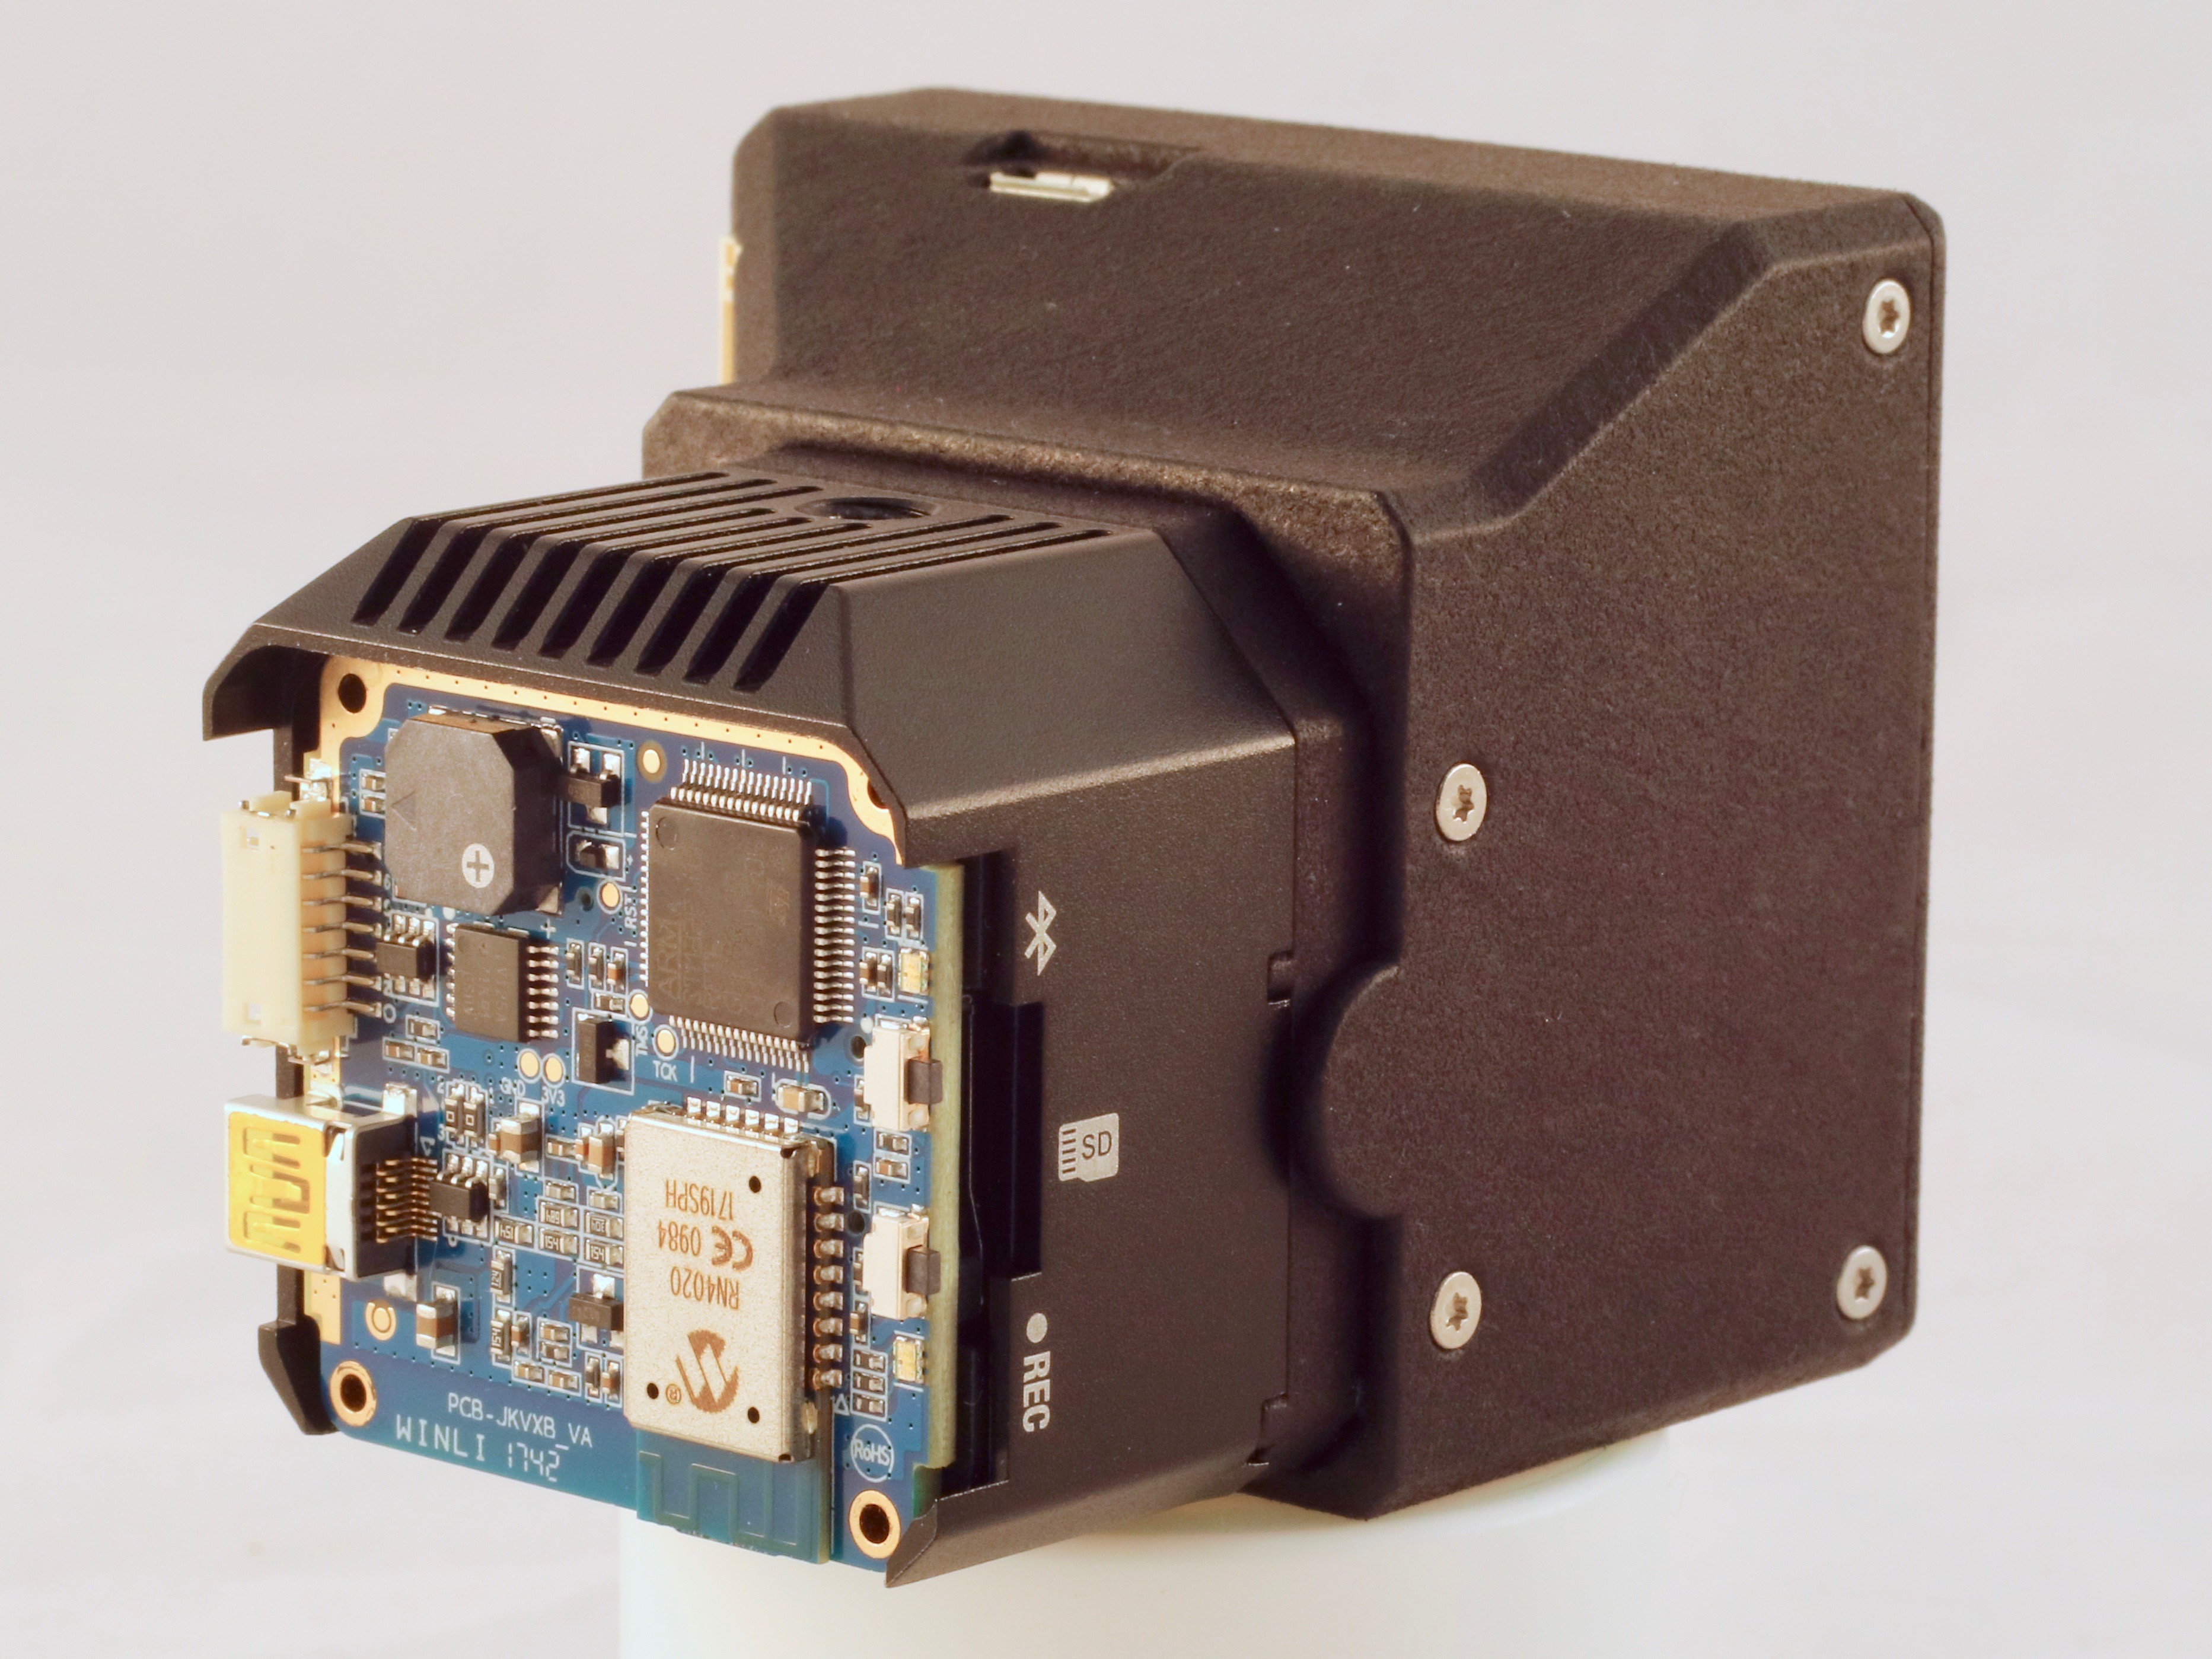
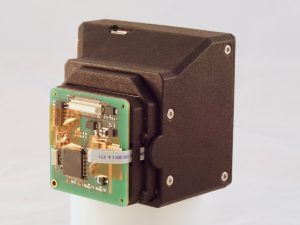
- Attach the ThermalCapture Calibrator PCB to the FLIR Tau 2 Core
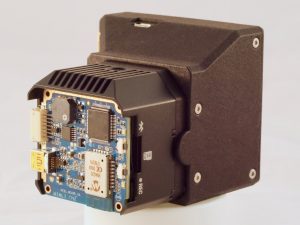
- Attach the FLIR Vue Pro spacer #2 and PCB #2
- Attach aluminum spacer #1

- Attach PCB #1
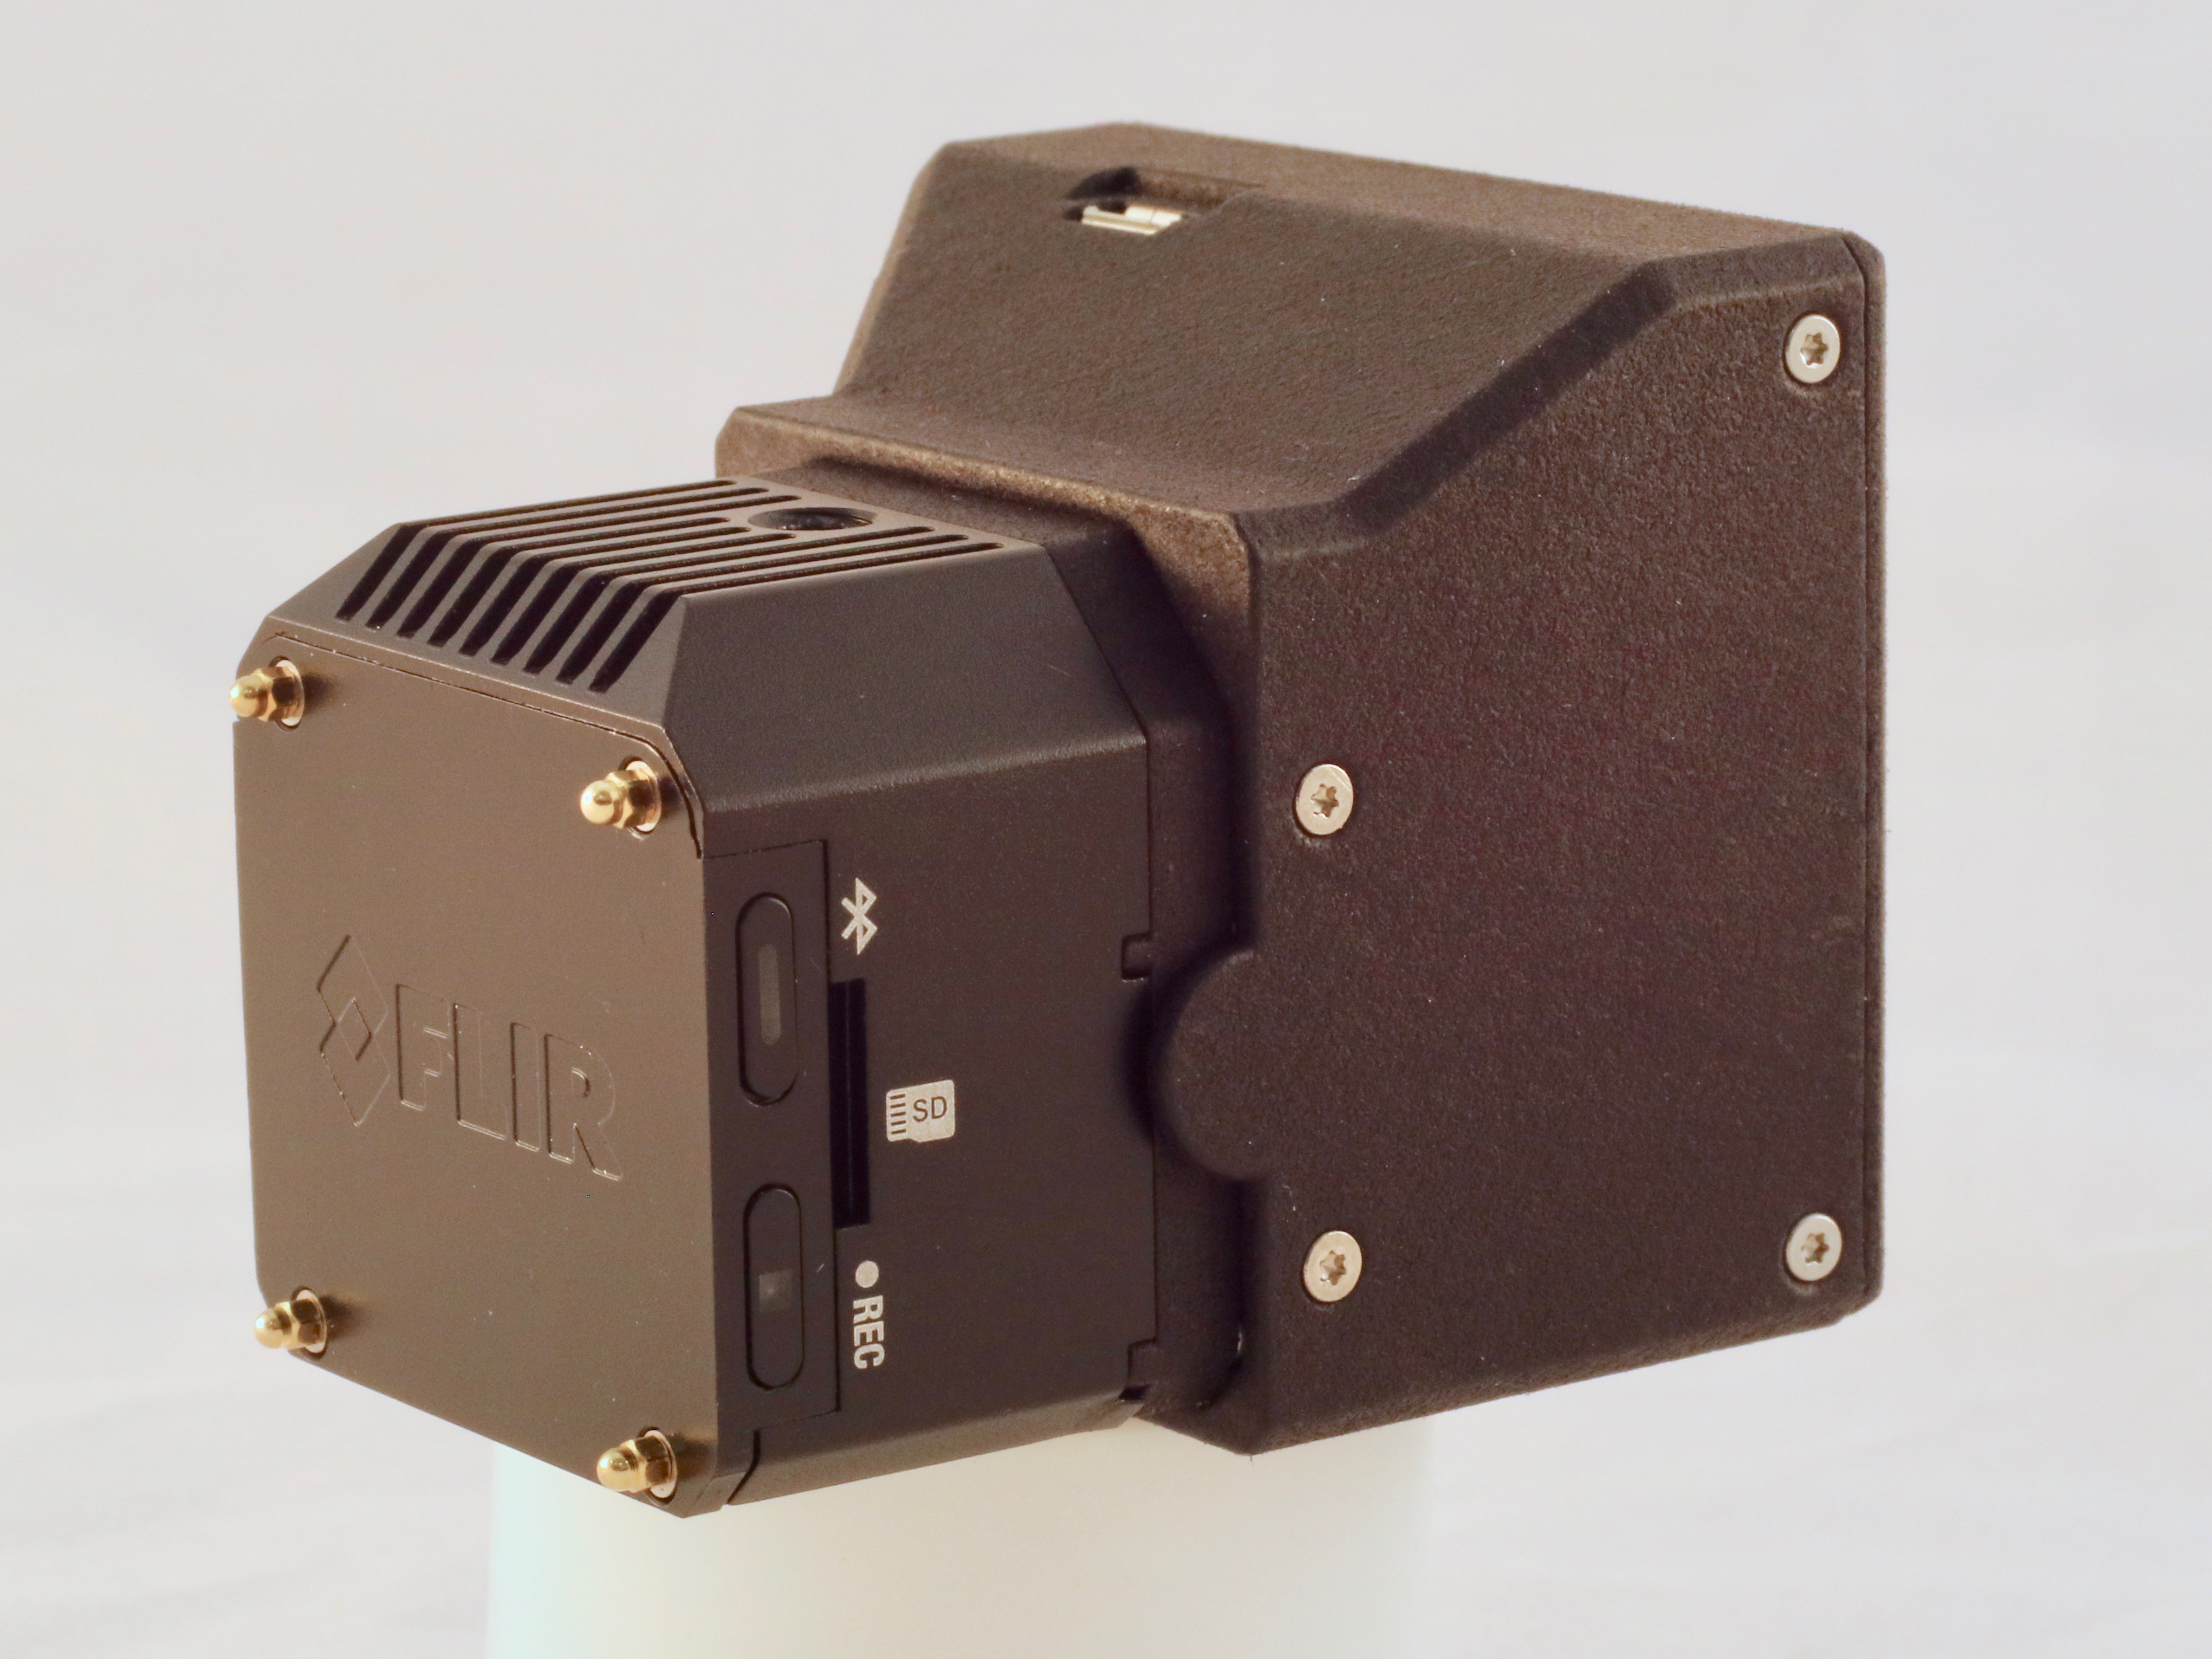
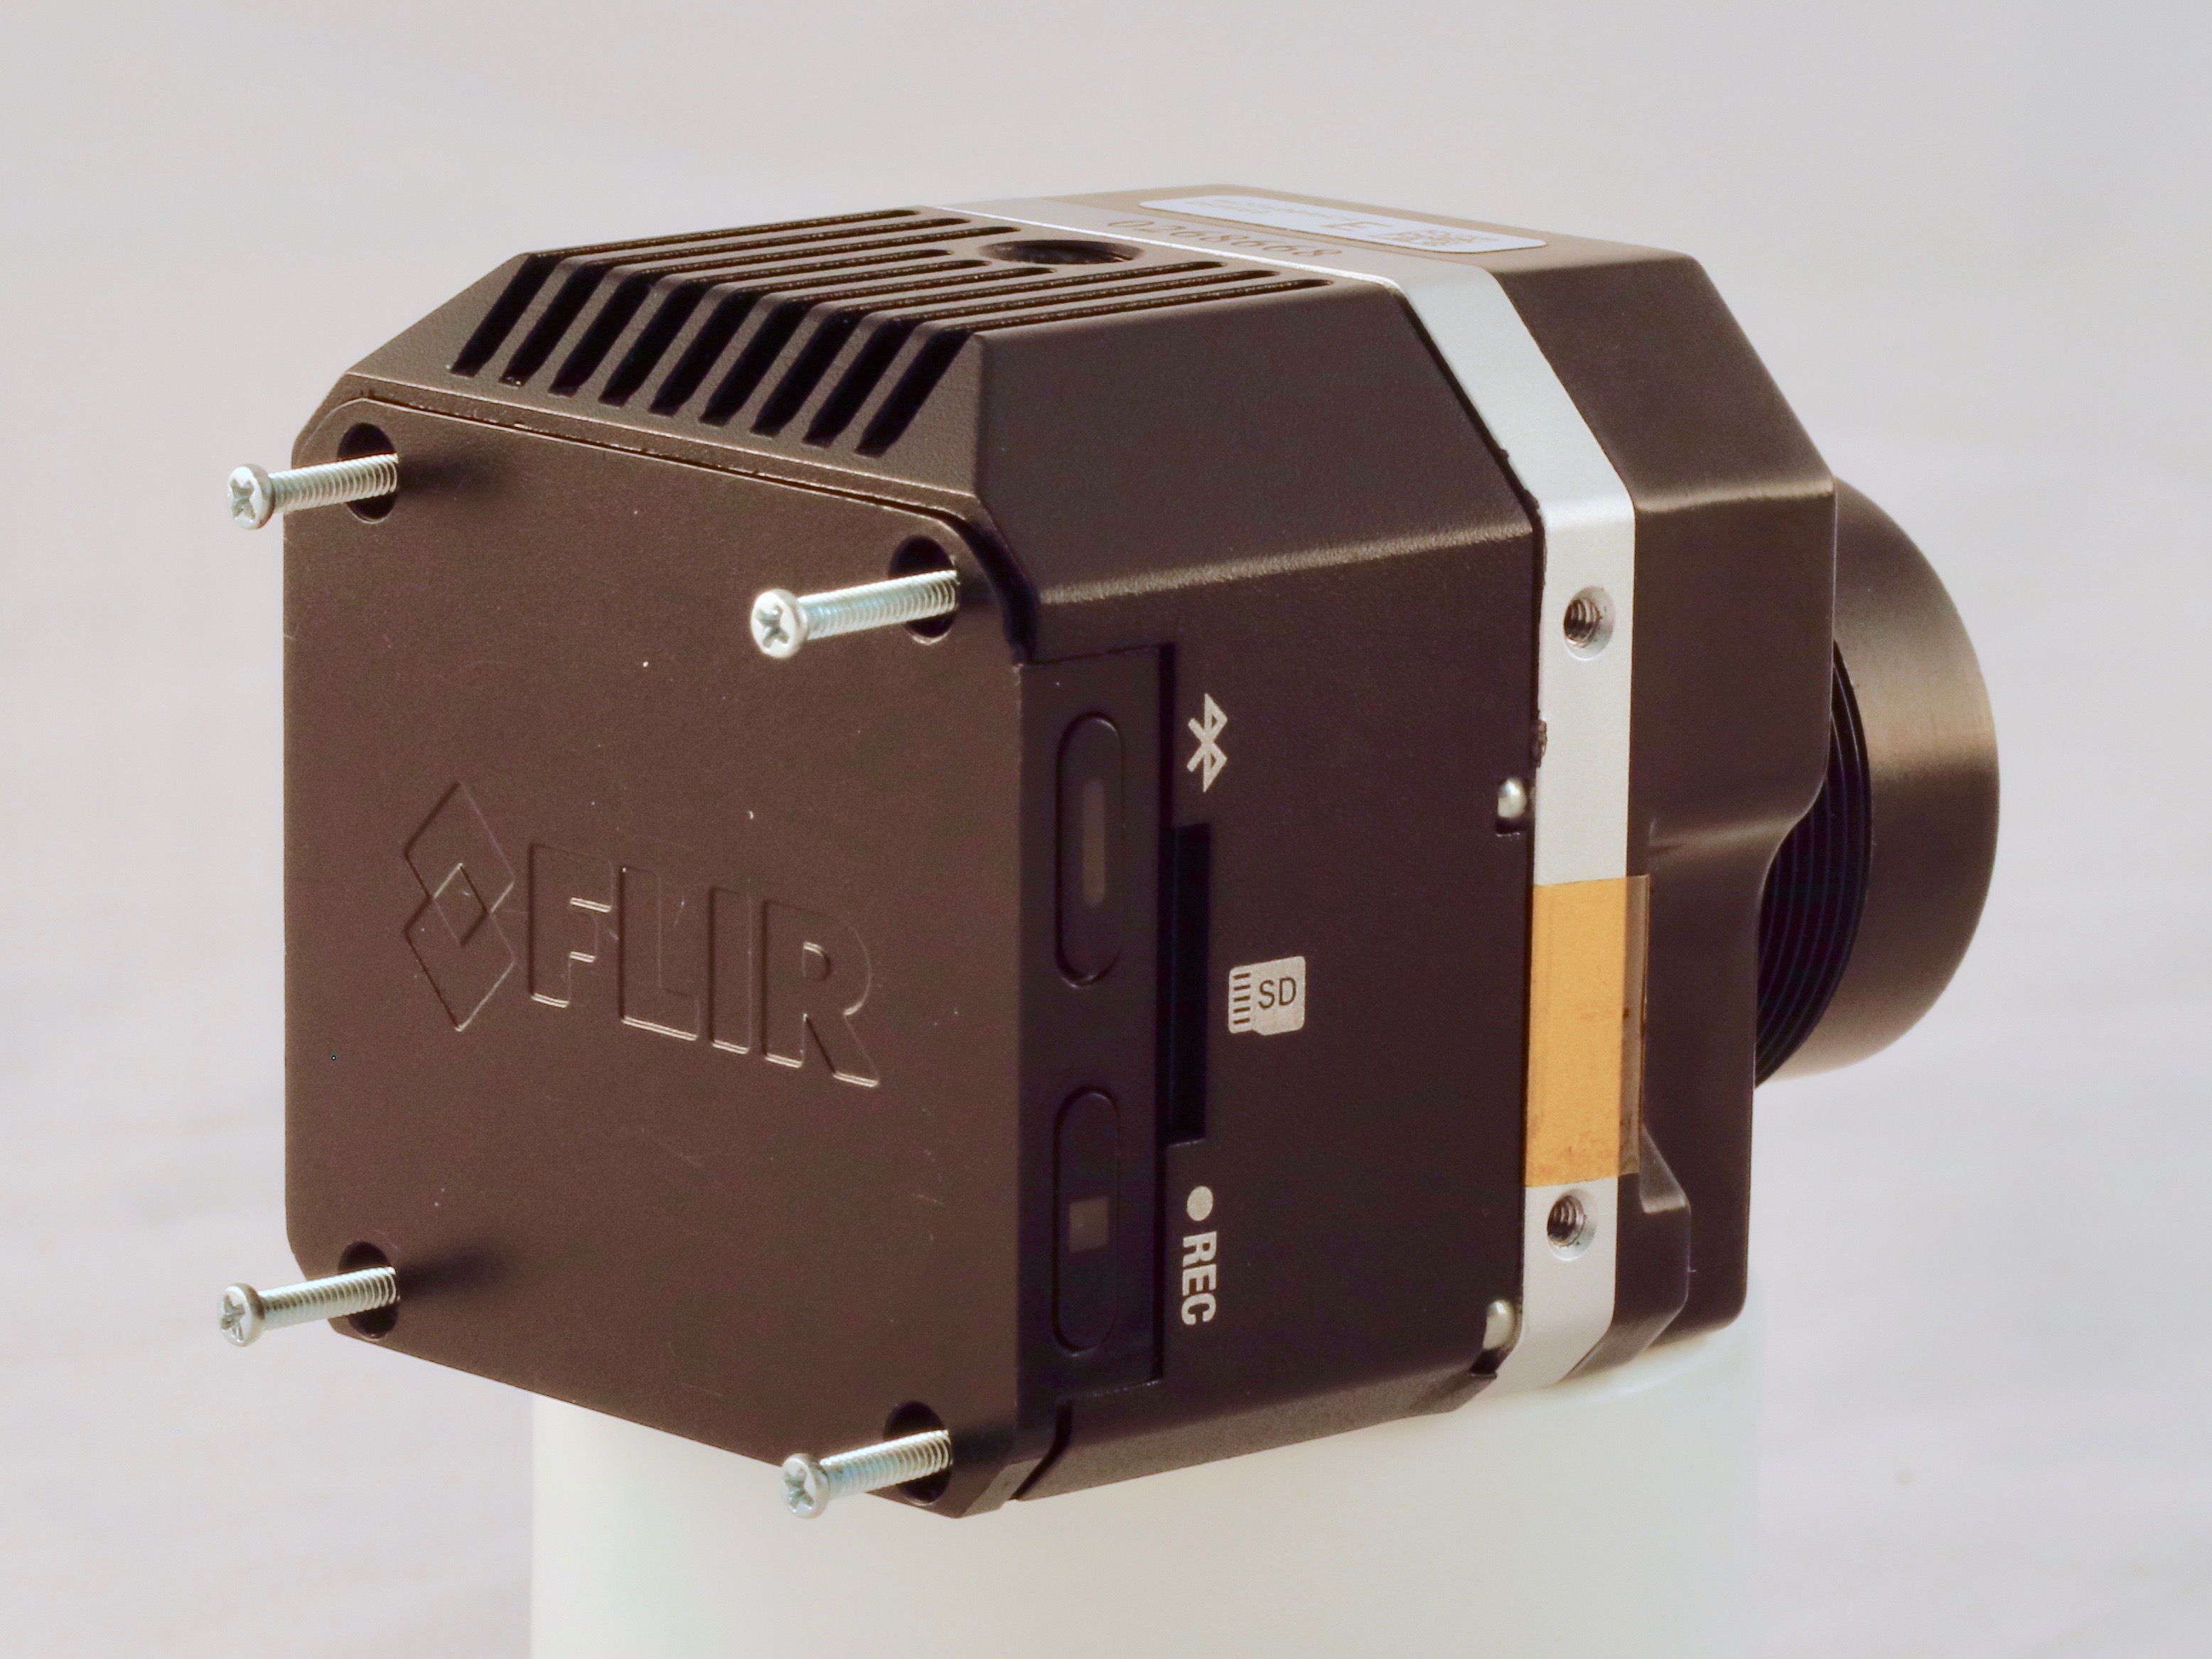
- Attach back cover again and use the provided brass screws to mount everything together. Make sure that one aluminum washer plate is put onto each screw.

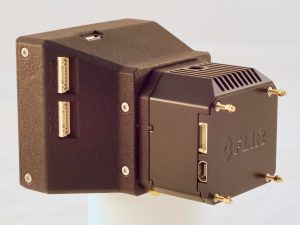
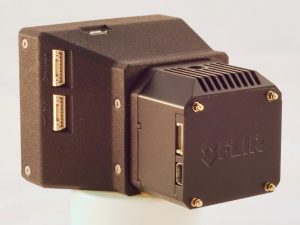
- Congratulations, you have successfully mounted ThermalCapture Calibrator to your FLIR Vue Pro camera.