ThermalCapture Calibrator for ThermalCapture 2.0
On this page you will find all needed information to get started with your ThermalCapture Calibrator device.
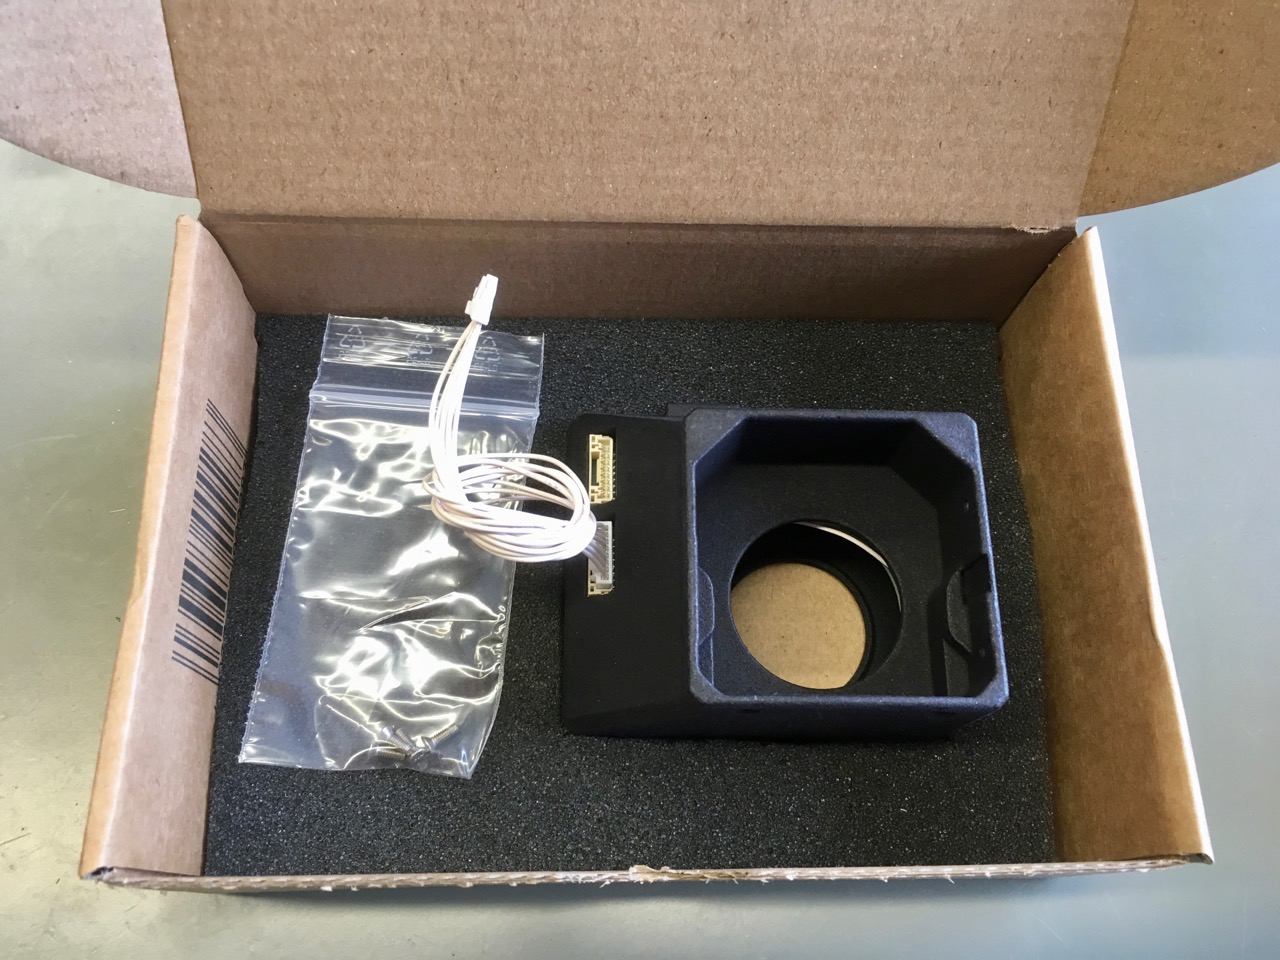
1. Mechanical installation
Hardware installation is straight forward for this combination.
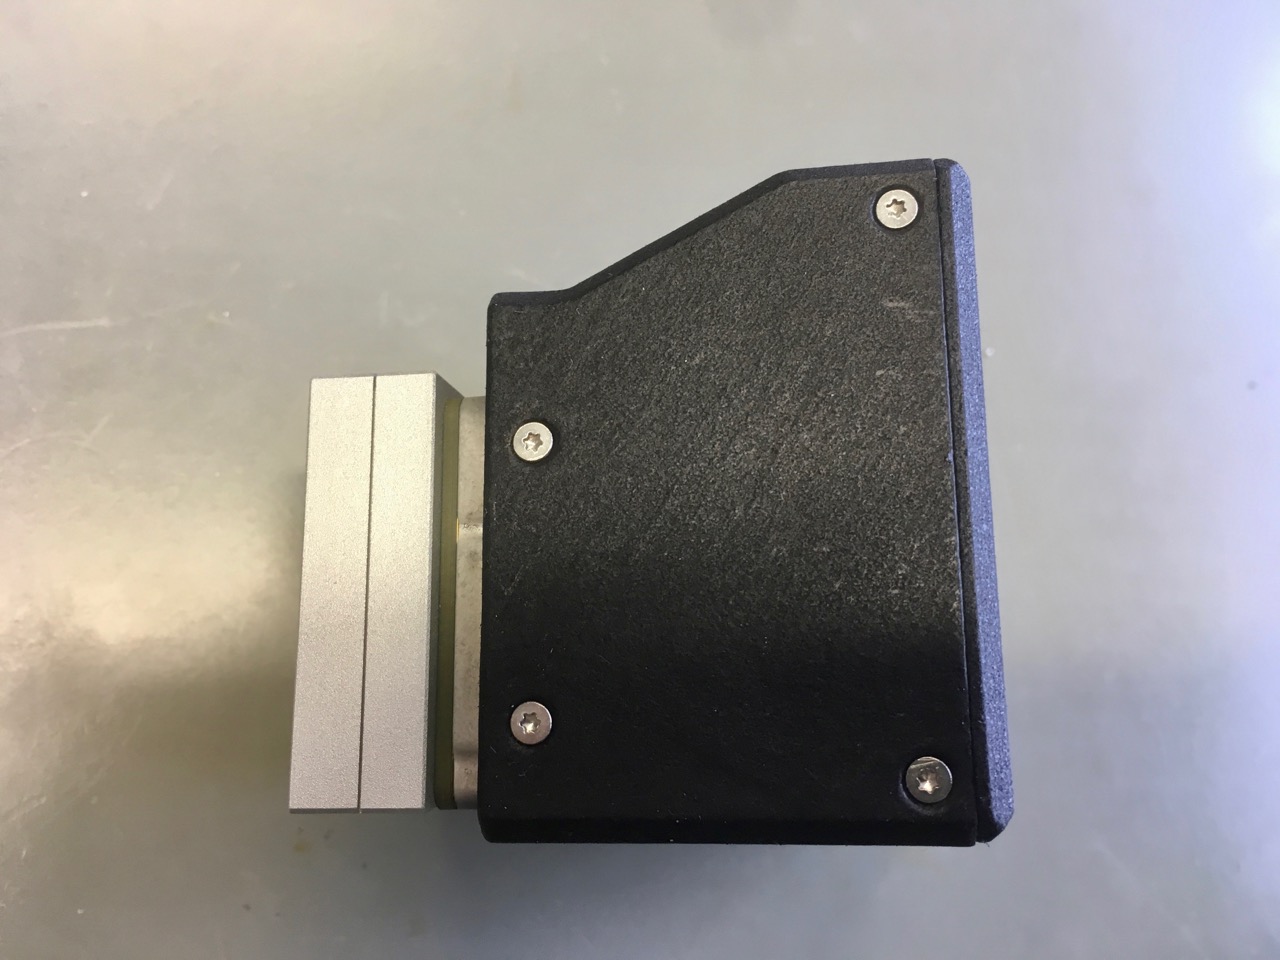
First remove any lens lock nuts from the FLIR Tau 2 Core, if there are any. After that push ThermalCapture Calibrator from the front over the FLIR Tau 2 Core until the four screw holes (two on the left and two on the right) match between ThermalCapture Calibrator and FLIR Tau 2 Core. Make sure that the internal cable passes around the lens holder and is not in front of the lens.
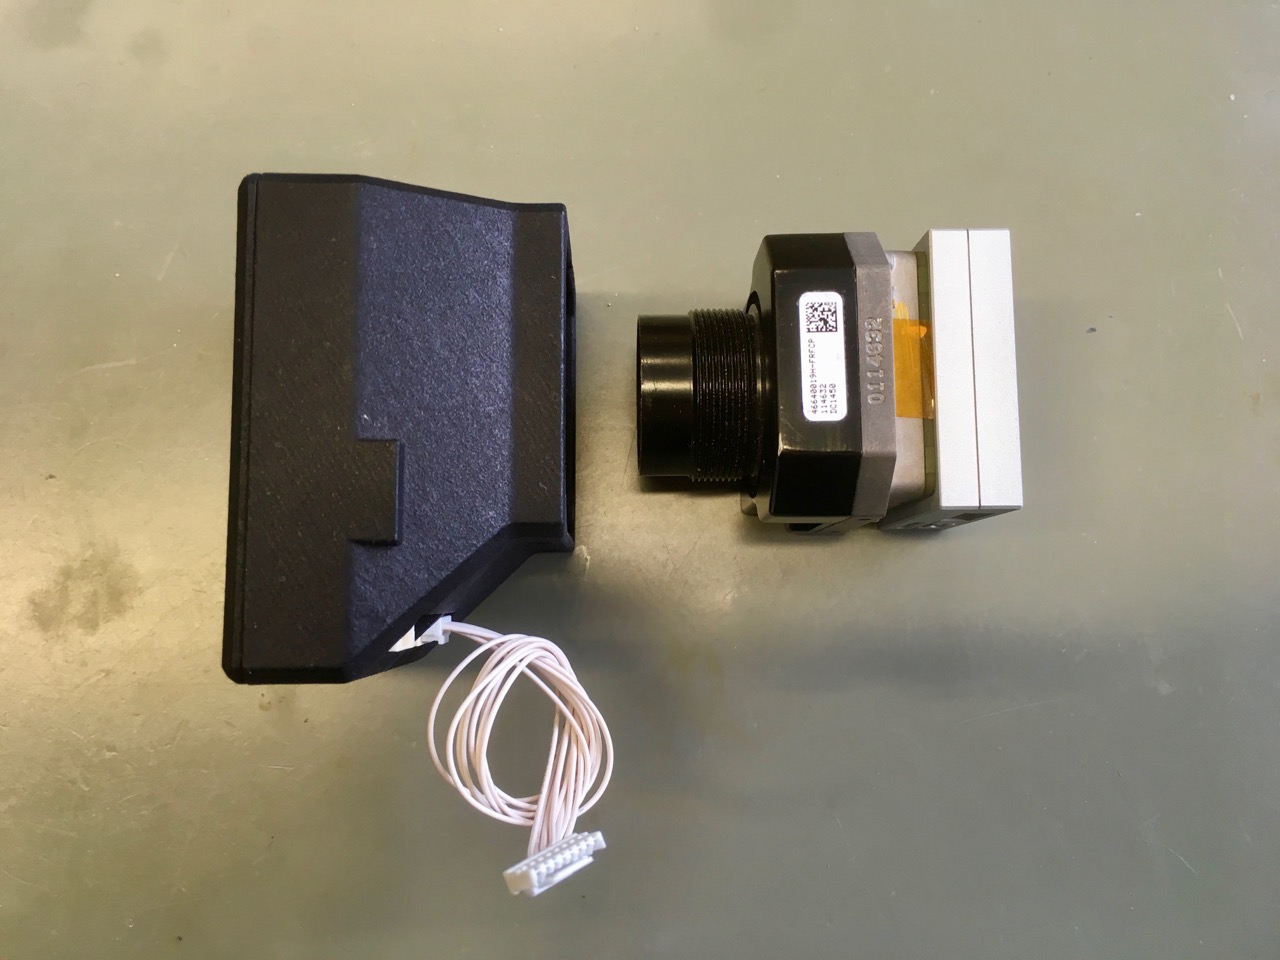
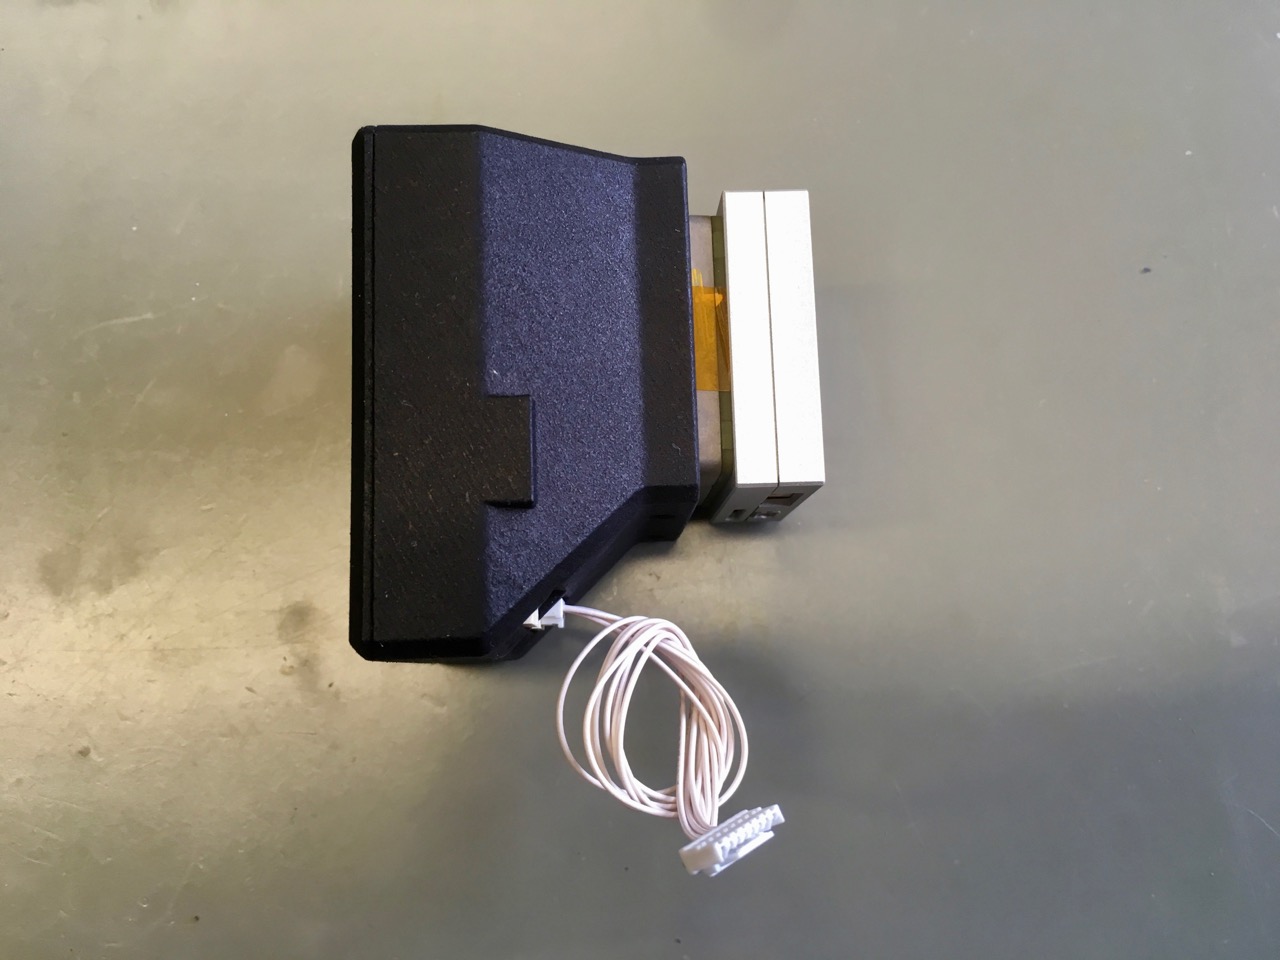
Use the four M2 x 6 screws to firmly attach ThermalCapture Calibrator to the FLIR Tau 2 Core.
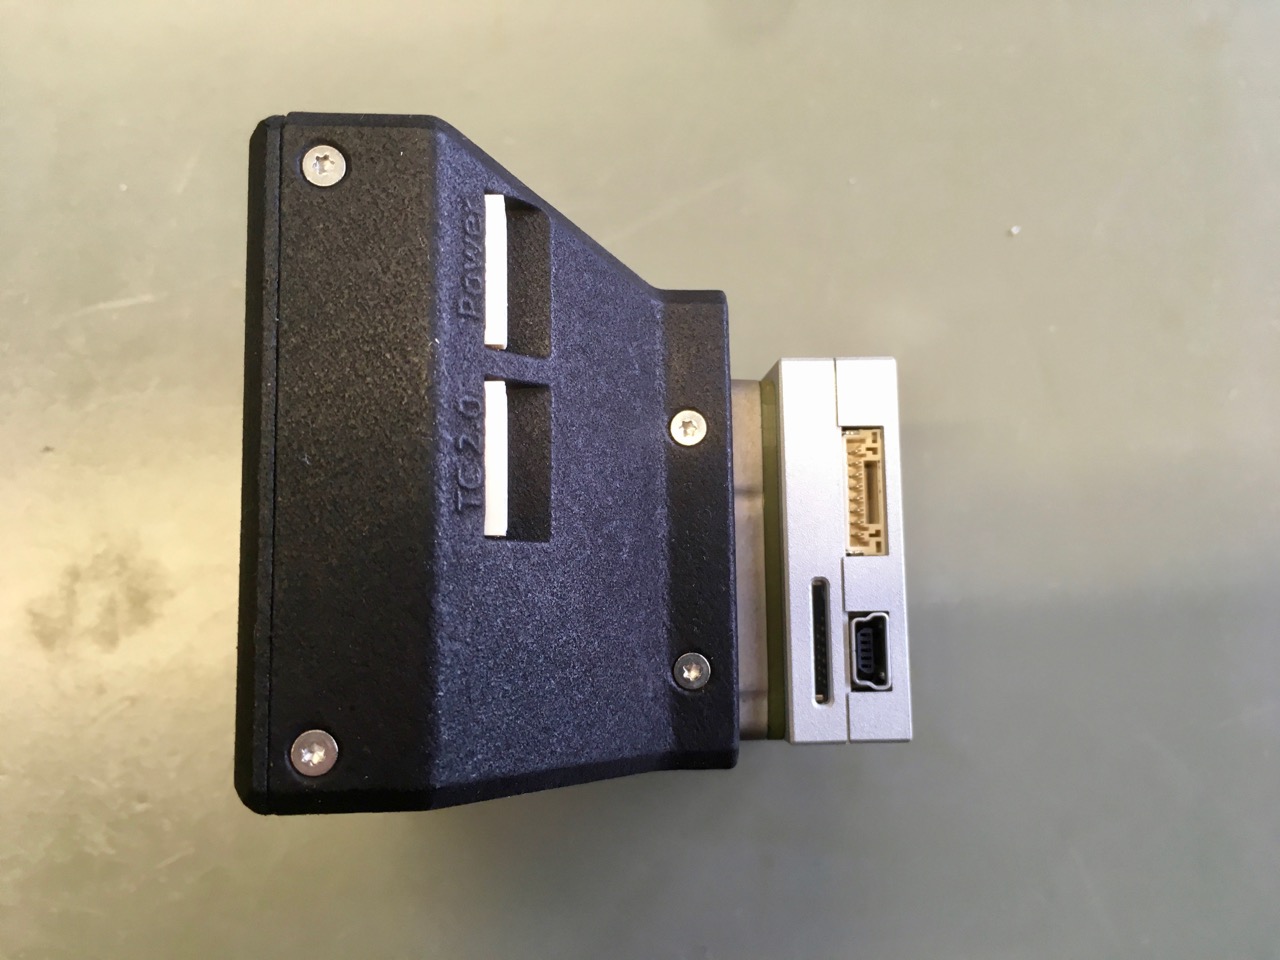
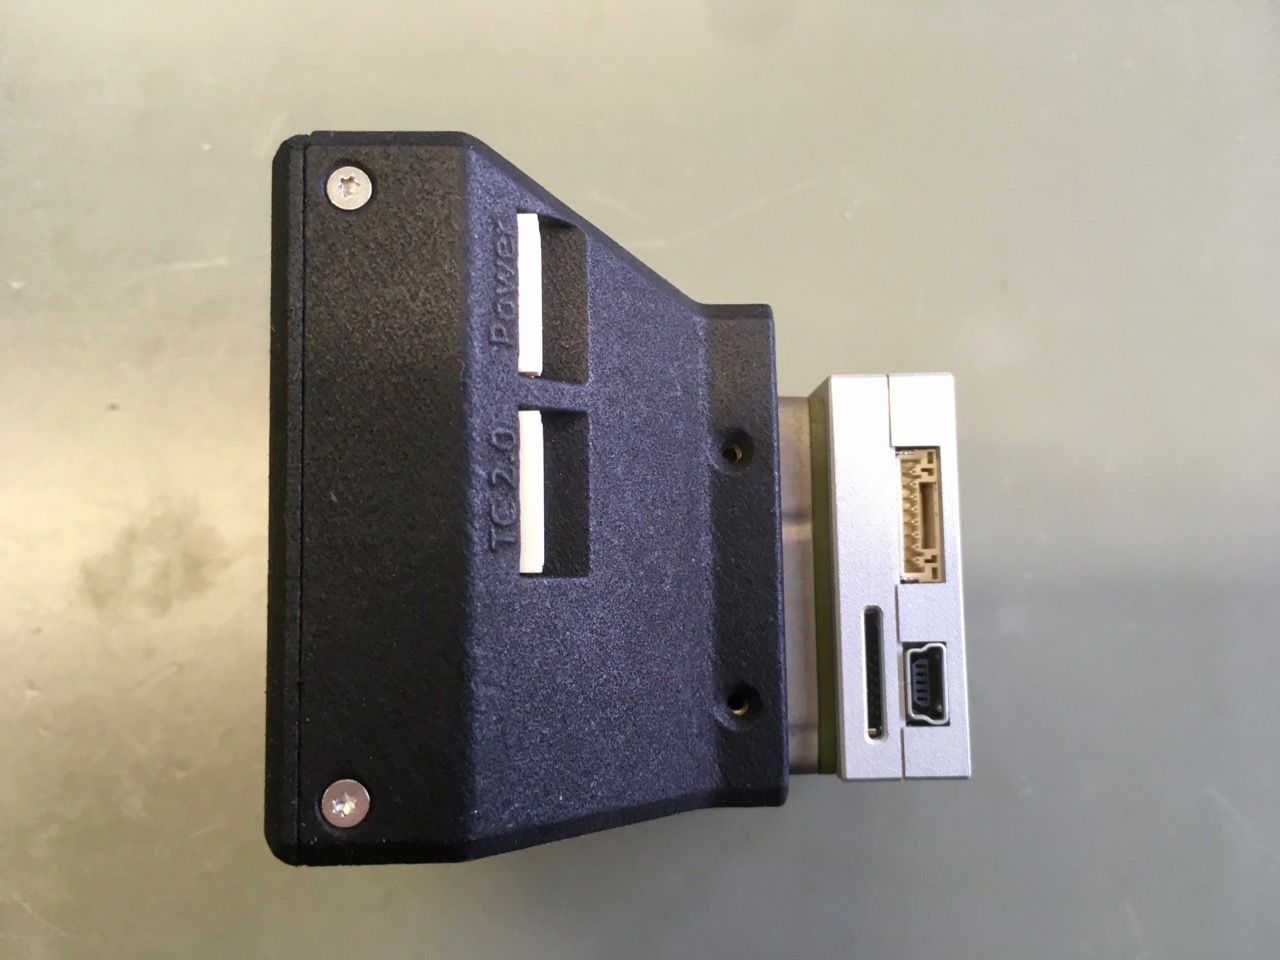
Use the 8-pin JST cable to connect ThermalCapture Calibrator with your ThermalCapture 2.0 module. To do so, use the port with label “TC2.0” on the ThermalCapture Calibrator module. Connect your existing cable, which was used before with the ThermalCapture 2.0 module now to ThermalCapture Calibrator “Power” port. This ensures that existing integrations can be used without any changes.
Please note that ThermalCapture Calibrator will only function, when power is provided via the JST connector. If ThermalCapture 2.0 is powered via USB, only the internal shutter of the FLIR Tau 2 Core can be used.
2. Firmware update
ThermalCapture Calibrator is controlled by ThermalCapture 2.0. In order to work together ThermalCapture 2.0 must have at least firmware 1.9.7, or higher installed. Most recent firmware versions in combination with the matching ThermalCapture Configurator program can always be found here: Firmware
3. Generate TCCONFIG.BIN file
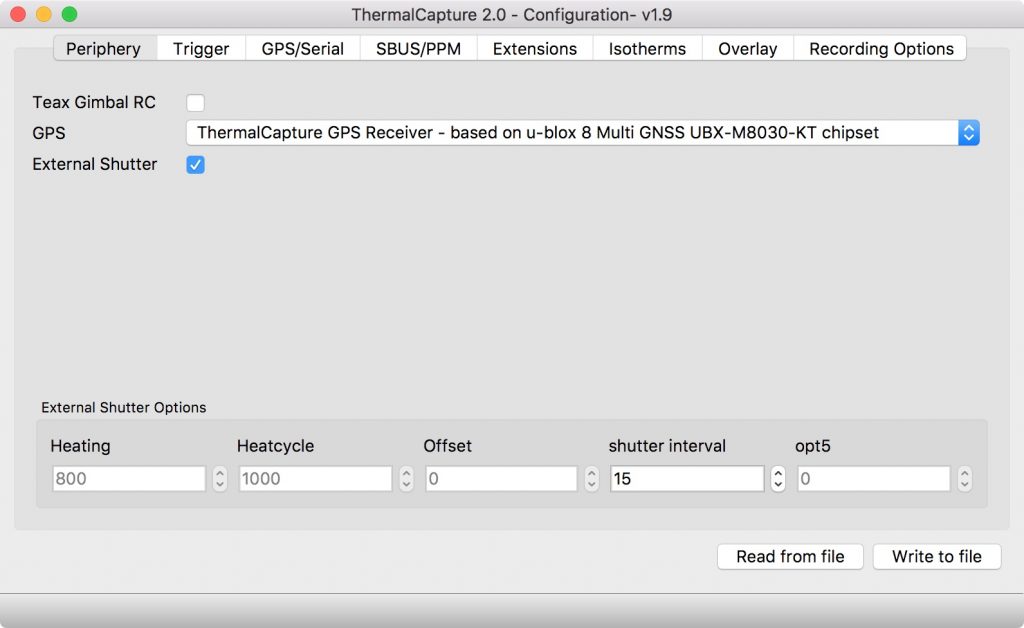
Control of ThermalCapture Calibrator needs to be activated within the ThermalCapture 2.0 configuration. Please use ThermalCapture Configurator to create a TCCONFIG.BIN file. This file has to be stored into the root directory of the Micro SD Card, which is used for recording.
Activate the checkbox for “External Shutter” and select your preferred “Shutter Interval” value. This value is measured in seconds. The example from the screenshot will setup the system to trigger every 15 seconds.